

SHRINE OF RESURRECTION
-After awakening walk over to the pedestal where you’ll find the sheikah slate. Obtaining this will allow you into the next room.
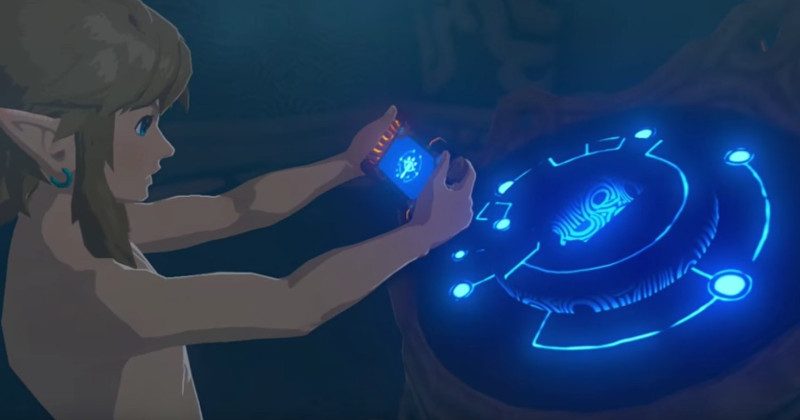
Link, recently awakened, has found the Sheikah Slate.
-Once in the next room you’ll find two chests with clothing for you to wear. (The wooden boxes have nothing in them.) The one on the left has an Old Shirt and the one on the right has Well-Worn Trousers. These are optional items but will increase your defense.
-Go to the next pedestal and place your sheikah slate on it to open the next door. You should now be able to leave the shrine by following the light and climbing up the wall.
Helpful Hint: you can jump while climbing to move faster but it’ll take more stamina to do so than if you had climbed slowly the same distance. Be strategic about your jumps.
-You’ll want to grab whatever objects you can find while exploring this area of the game. (You’ll know you can grab something if it is sparkling.) This is how you will find weapons, food, and other useful items. (Such as sticks, swords, mushrooms, apples, etc.)
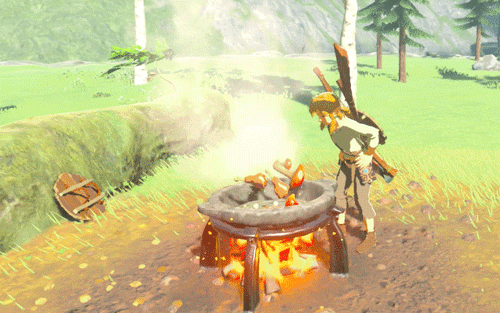
-You can make your way to the old man by the fire and talk to him if you want, it is completely optional. He wont tell you anything about himself but he will tell you that this area is the Great Plateau and that according to legend it is the birthplace of the entire kingdom of Hyrule. He’ll point out the large building structure in the background. It’s a temple that was used for sacred ceremonies and ever since the decline of the kingdom 100 years ago, it has sat abandoned, in a state of decay.
-The old man will also let you know that baking food by a fire can increase the amount of health it restores. (Food is used instead of hearts to replenish health.)
FOLLOW THE SHEIKAH SLATE
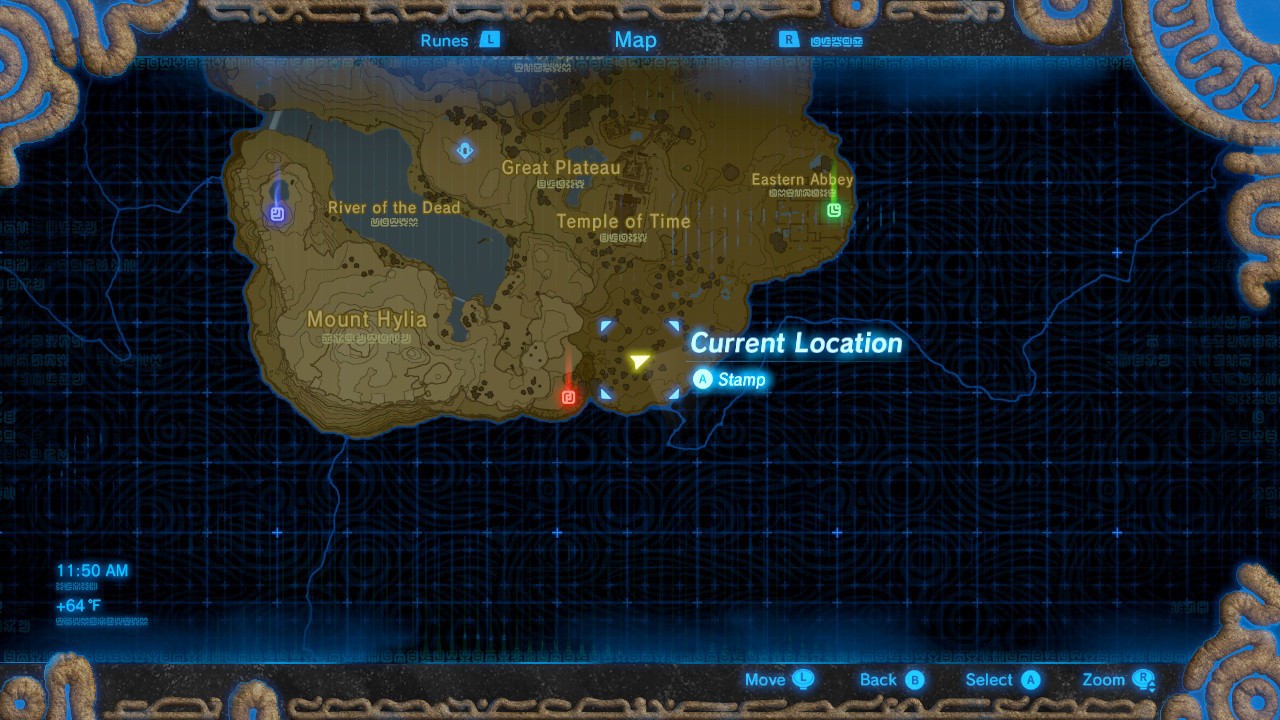
-Eventually the woman’s voice you heard in the Shrine of Resurrection will call out for you to head to the point on the map on your sheikah slate. This is your first quest to complete.
Helpful Hint: If you knock an enemy down sometimes they’ll drop their weapon and you can steal it from them so that they won’t be able to attack you as easily.
-You’ll run into some enemies along the way and that’s how you’ll find out that your weapons can break. This is a normal mechanic of the game. Do not get attached to weapons. Grab what you can use. Some weapons will be stronger than others.
-Upon defeating an enemy they will drop items that will be useful to you. Each enemy drops something unique. Make it a habit to pick these up since they will be useful to you throughout the game.
-Once you make it to the destination marked on your map you will find an odd structure buried amongst some rocks with a pedestal similar to the ones from the shrine you woke up in. Go and place your sheikah slate on the pedestal as prompted. This will cause the structure to erupt from the ground. Afterwards you’ll get a map of the Great Plateau downloaded onto your sheikah slate. You will now have completed your first main quest: Follow the Sheikah Slate.
THE ISOLATED PLATEAU
-Now you must climb down the tower through one of the three center holes. (one is blocked up by rocks.) You will die if you attempt to jump off so be careful.
-When you reach the bottom the old man from earlier will glide down to you. He will tell you that this tower and others just like it have erupted across the land, one after another. It is almost as though… a long-dormant power has awoken quite suddenly. He will ask you about what happened while you were up there which you can answer however you want, it doesn’t entirely affect the outcome of the conversation.
-He will then mention the atrocity enshrouding the castle. That is Calamity Ganon. One hundred years ago that vile entity brought the kingdom of Hyrule to ruin. This evil has been contained for the last century only barely by the symbol of the kingdom of Hyrule. Eventually it will unleash its blight upon the land again.
-You will then find out that you have no means for leaving the plateau unless you have a paraglider like his. He is willing to give you his but for a price. You must explore the glowing structure north of the tower for a treasure he believes to be in there. He will exchange his paraglider for the treasure. This is the next main quest: The Isolated Plateau.
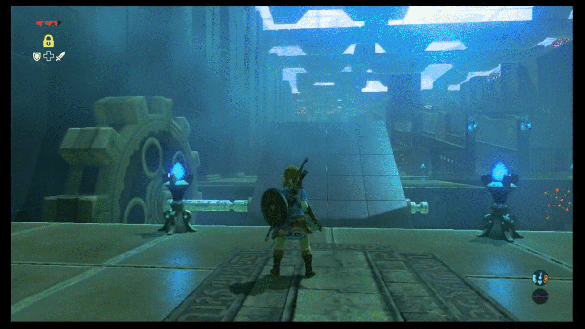
OMAN AU SHRINE
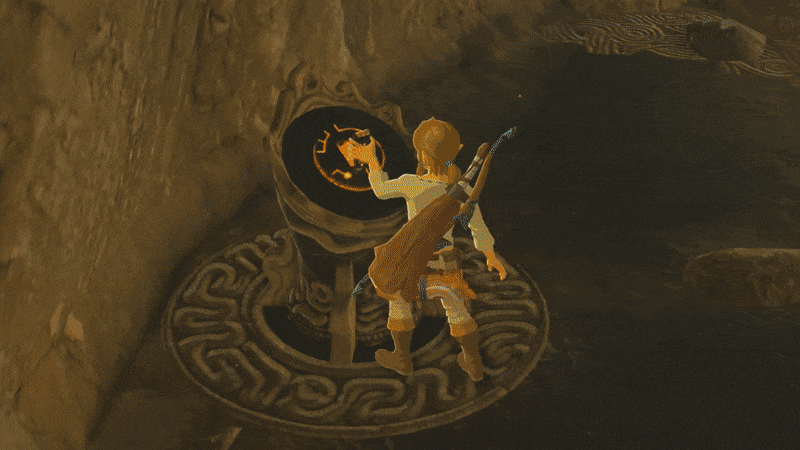
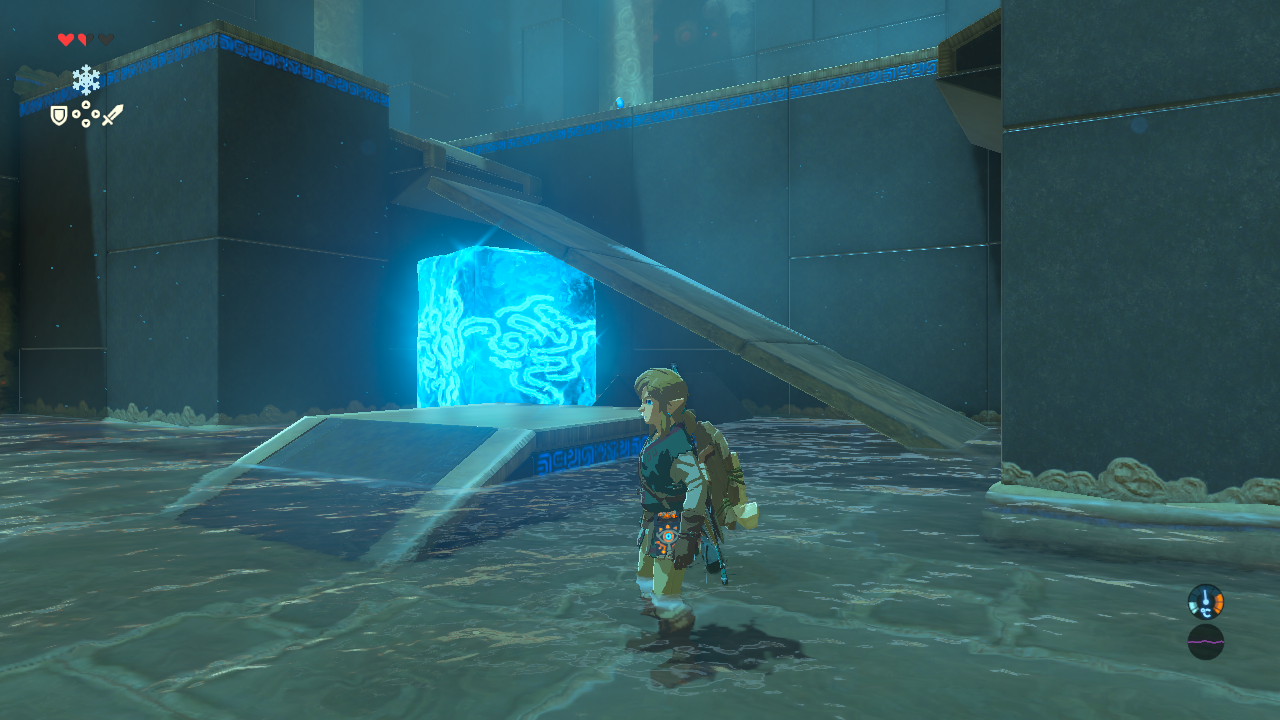
-The glowing structure is called the Oman Au Shrine. Place your sheikah slate on the pedestal to enter. This shrine houses the Magnesis Trial.
-Place your sheikah slate on the pedestal to receive the Magnesis Rune. This rune lets you manipulate metallic objects using magnetism. (If you ever forget what a rune does you can check your Sheikah Slate by clicking the minus button on the left controller and hitting the L button which will take you to the runes menu.)
-Use the Magnesis rune on the giant metal bricks in the center of the room and move them aside to reveal a hole in the floor. Follow this path to the next room.
The second room within the Oman Au Shrine.
-In here you’ll find a wall of stone blocks with one metal block in the center and behind you there will be a second metal block. You can use either of the metal blocks to knock the wall down.
-In the next room you will find a robotic creature called a Guardian Scout. You will need to defeat this enemy or it will make completing this room difficult. Any weapon will do but make sure to have your shield up to block its eye from shooting at you.
-When it is defeated it will leave behind what are called ancient materials. Pick these up as these will be extremely helpful later in the game.
The third room within the Oman Au Shrine.
-Walk across the metal brick to the center platform and then use the Magnesis Rune to pick up the metal brick and move it to the next gap to create a bridge to the next platform.
-On the upper left wall there is a chest on a small ledge. You can use the Magnesis Rune to bring the chest to you since it is a metal chest. It contains a Traveler’s Bow.
-In front of you there will be a set of metal doors that you can use your Magnesis Rune on to pull open.
-Walk up to the blue glowing box and the monk Oman Au, a servant of the goddess Hylia, will give you a Spirit Orb for completing his trial. (The Spirit Orb is a symbol of courage given to those who have overcome the challenge of a shrine.)
-Each shrine you find will become a point to teleport to whether you’ve beaten them or not.
JA BAIJ SHRINE
-After you have teleported out of the shrine the old man will tell you that there are three more shrines on this plateau and he wants you to bring the treasures (spirit orbs) from each one in return for his paraglider.
-He will give you a helpful tip for finding shrines: He will tell you to meet him at the top of the tower, which you can teleport to using the map on your sheikah slate. Up there he will teach you how to use the scope on your sheikah slate. Just press down on the right joystick and it’ll give you a telescope-like view of the land. From this screen you can easily see the glowing shrines in the distance.
-Place a pin next to each shrine by pressing A with the cursor aimed appropriately. You can use the motion controls or the joysticks to control this portion. You can check on these pins on your map in case you ever get lost.
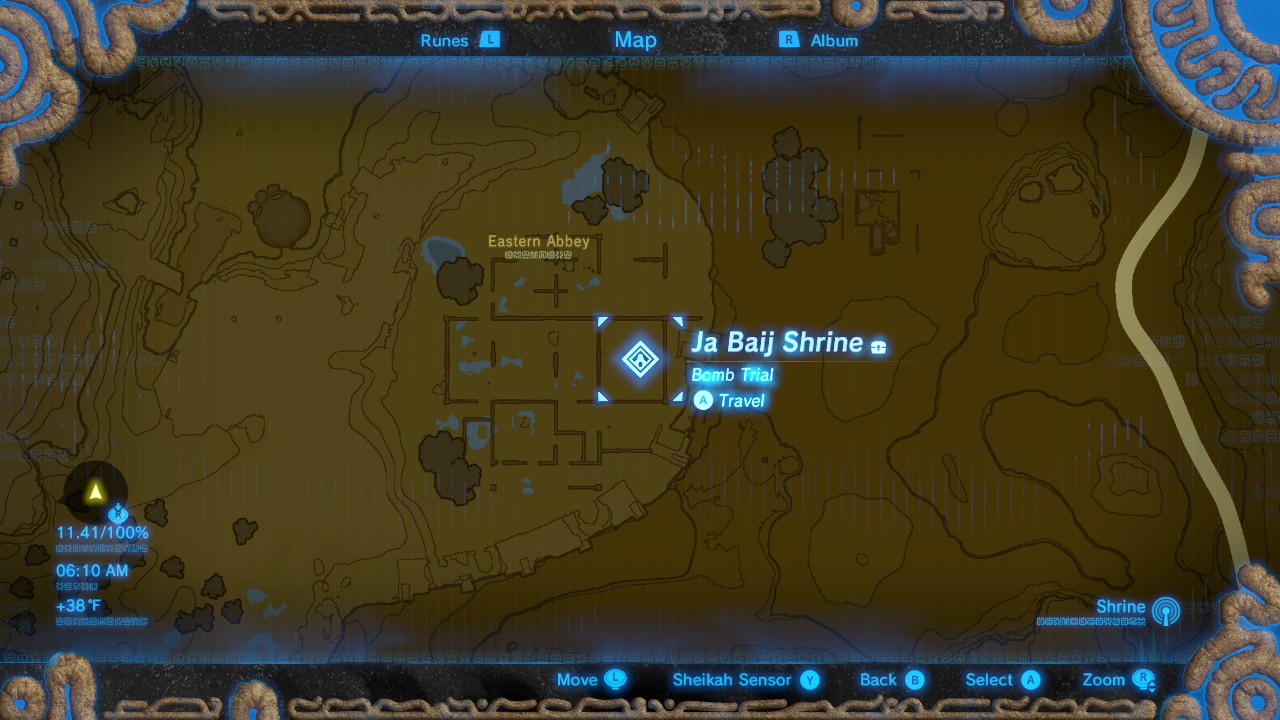
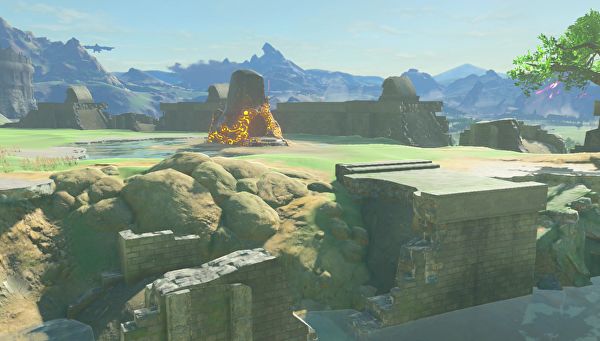
-The closest shrine is the Ja Baij Shrine which is located in Eastern Abbey, south of the Great Plateau tower. This shrine is surrounded by stone walls which you are able to climb, and will have to, in order to reach it.
-There are three Decayed Guardians in Stasis that surround this shrine that will activate when you walk within their vicinity. These Guardians cannot be killed with the weapons you can obtain in this area. You must evade them which is possible by scaling the wall, seeing as they cannot move, but they can shoot a surprisingly far distance.
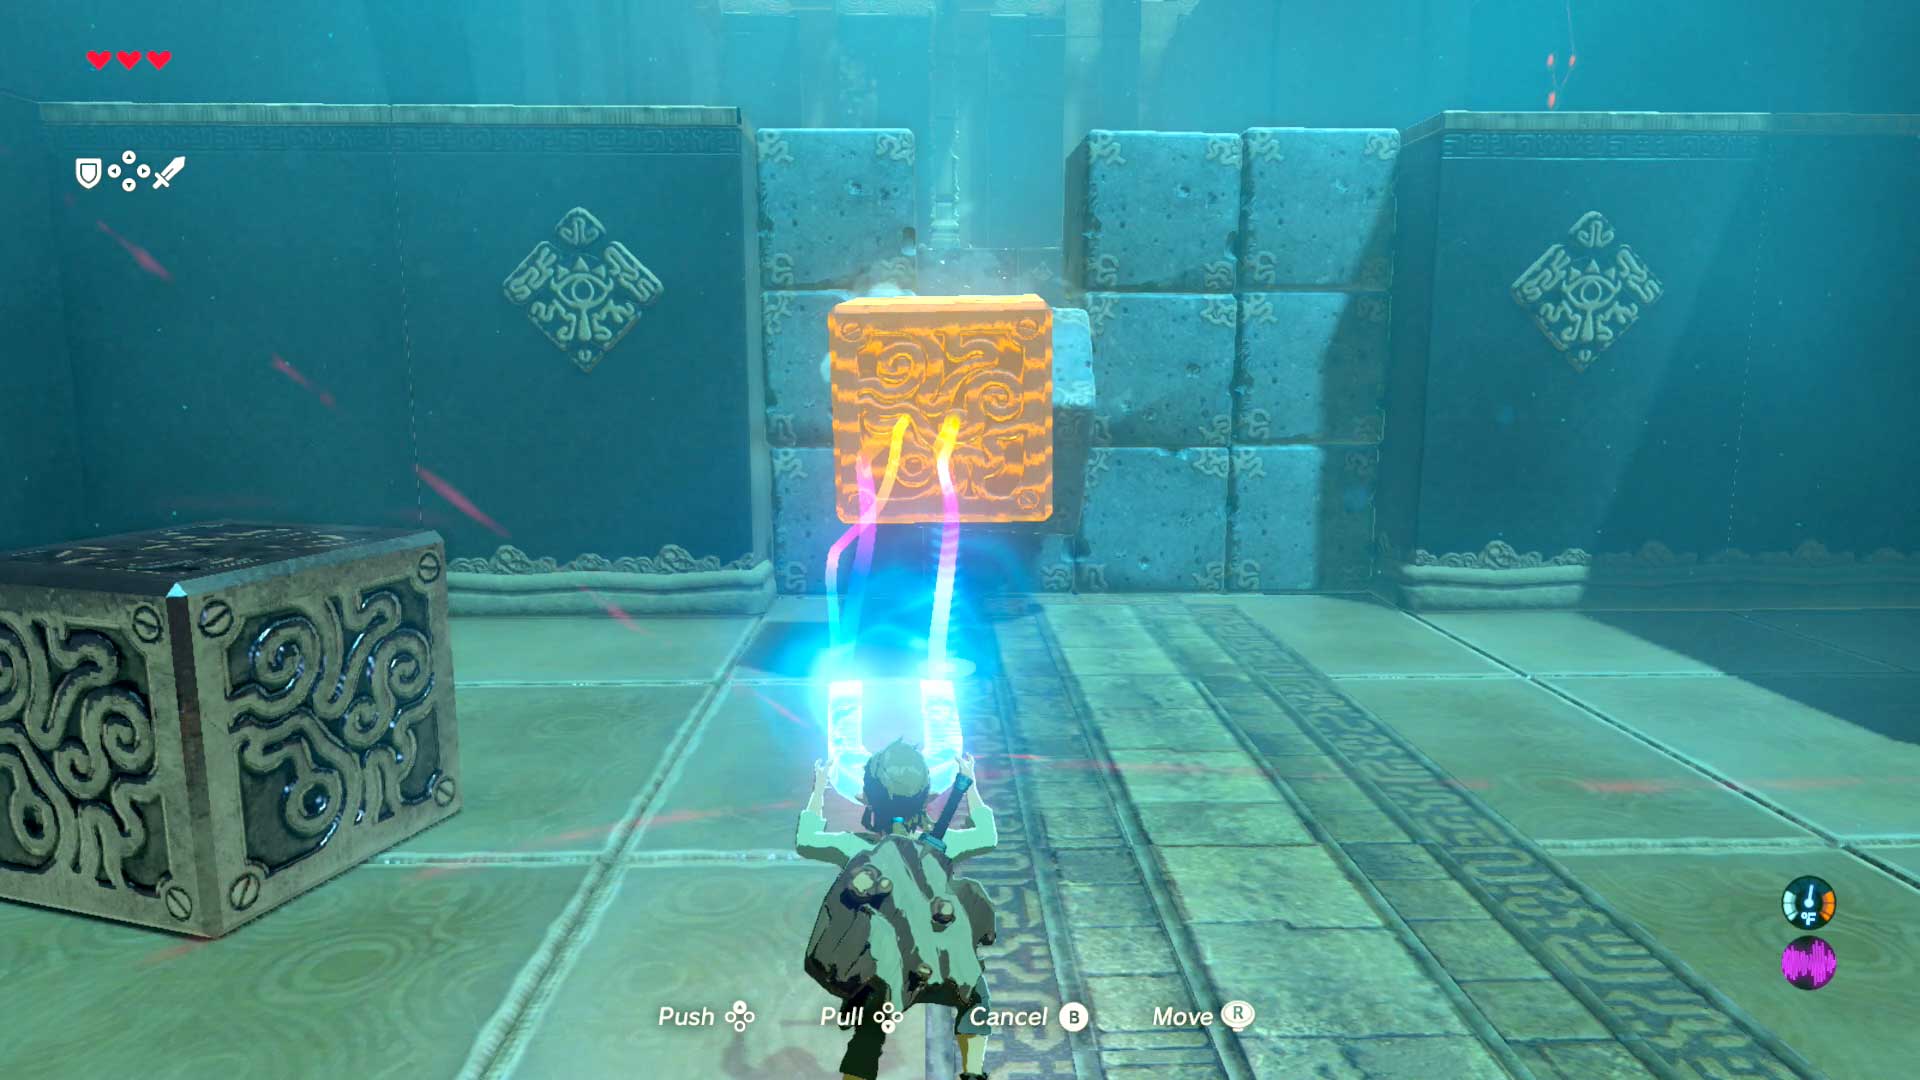
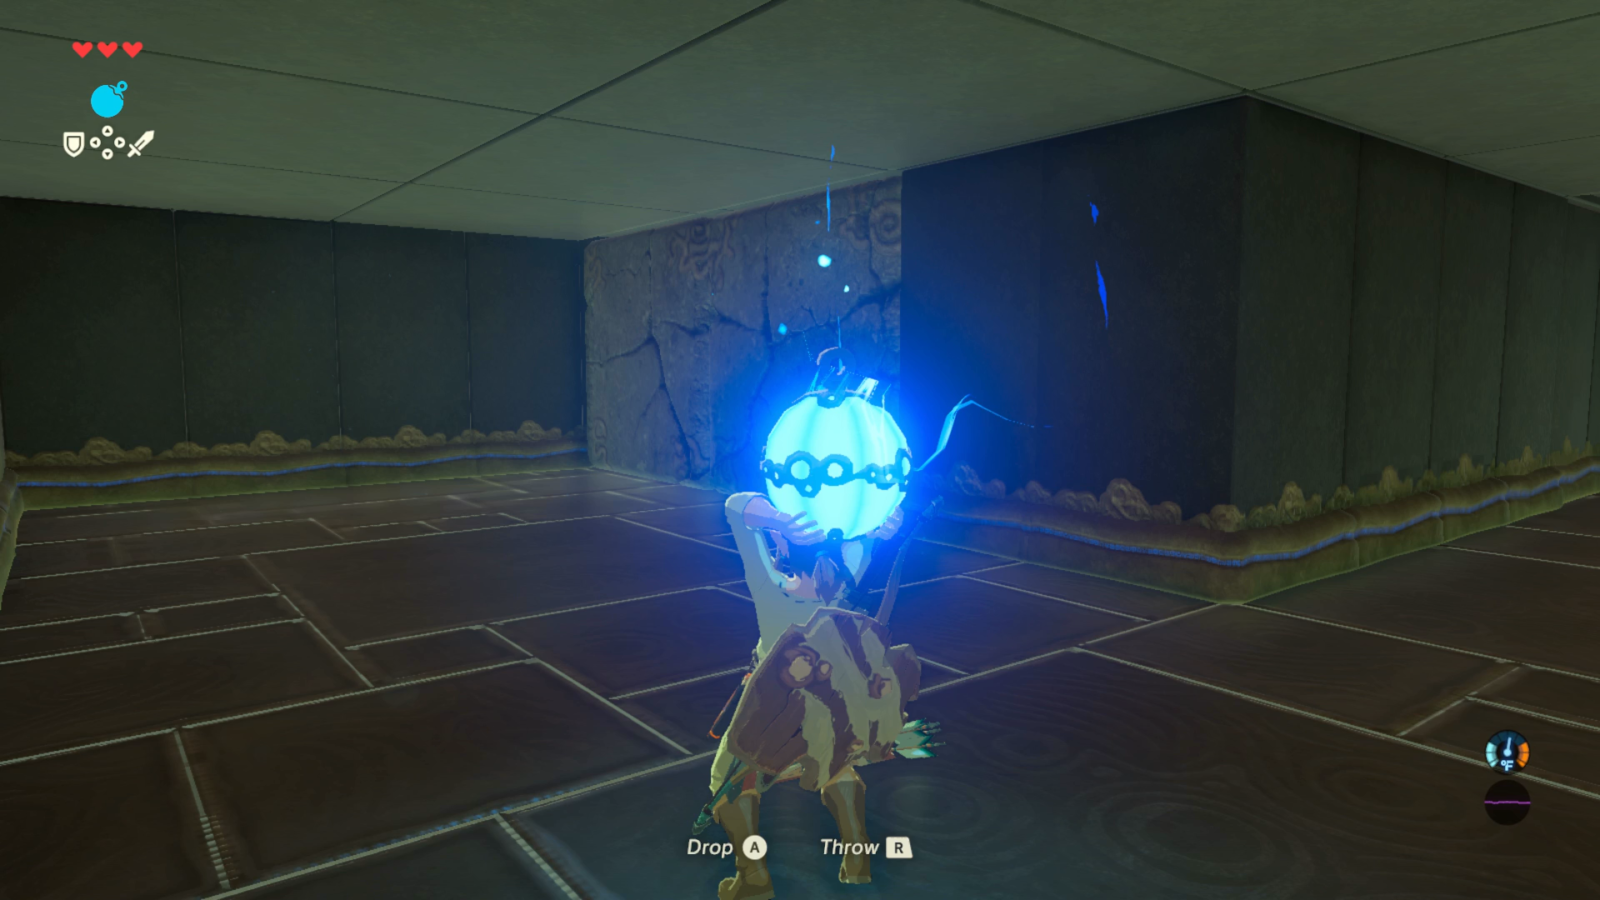
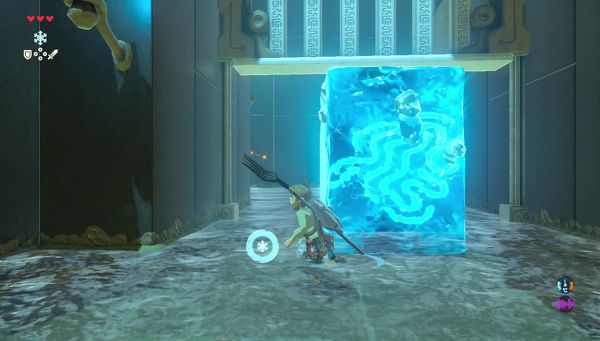
-In the center of these stone walls is the Ja Baij Shrine. This is where you’ll find the Bomb trial. Go to the pedestal to obtain the Remote Bomb Rune. This supplies you with an unlimited supply of bombs that can be detonated remotely. There are cube bombs and spherical bombs that you must utilize according to the situation. (spherical bombs will roll when winds pick up and if the terrain is uneven whereas the cube bombs are more stationary.)
-There are two giant stone blocks within this room that you will need to bomb.
The hallway following the first room within the Ja Baij Shrine.
-Once through the hallway and to your right you will find another set of stone blocks to bomb. This area will have a chest that contains a Traveler’s Claymore.
-To the left of the hallway there is another set of stone blocks that you will bomb to get into the next room.
The second room within the Ja Baij Shrine.
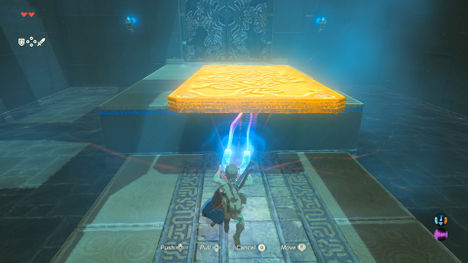
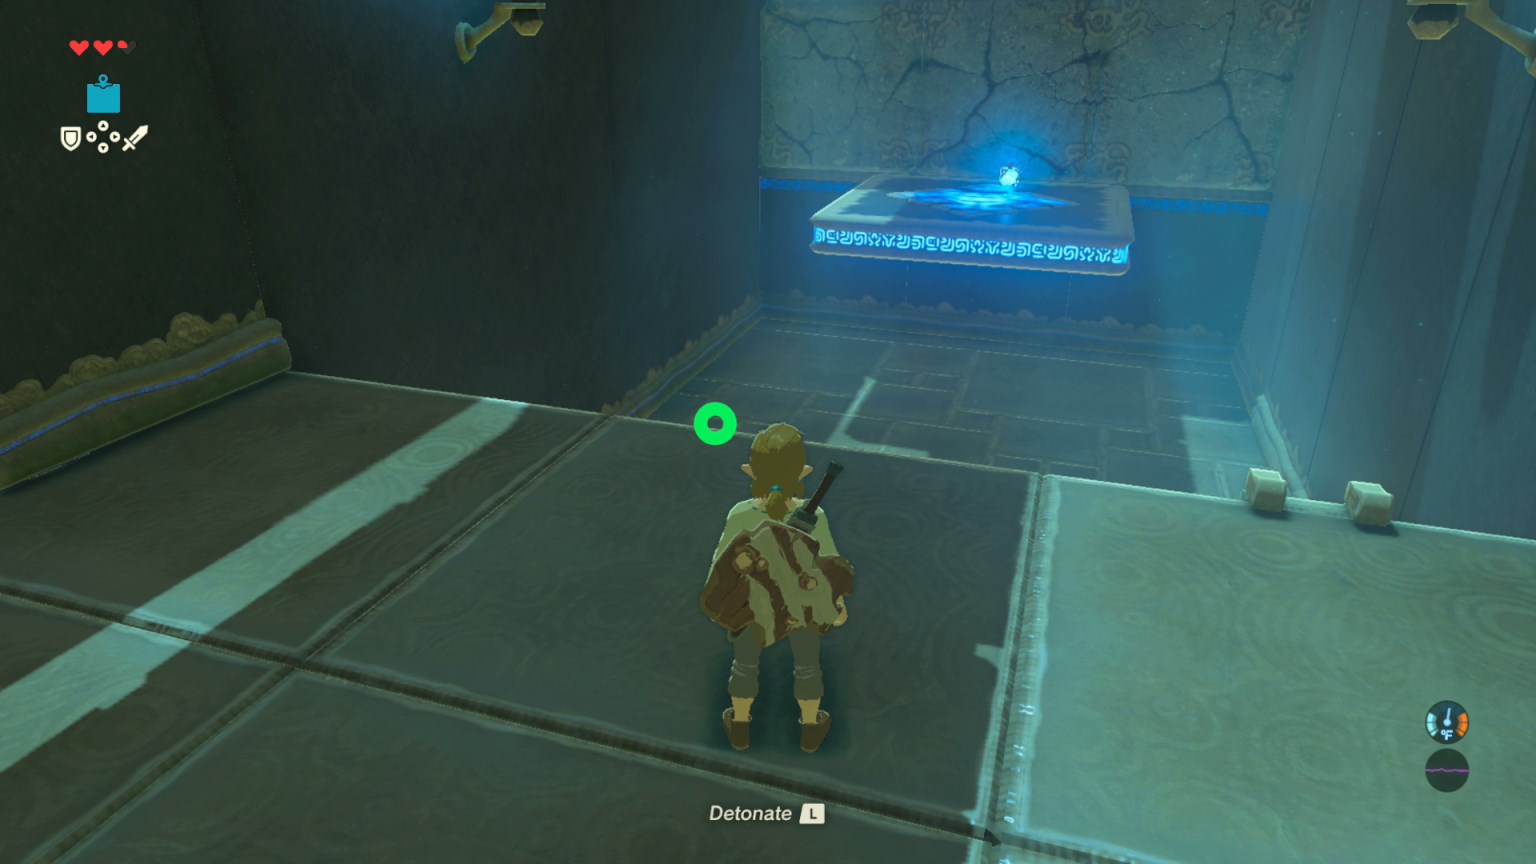
-In this room there is a moving platform and a wall of stone blocks on the opposite end. Place a cube bomb on the platform and detonate it once its close enough to the stone wall. Then simply ride the moving platform over to the next room.
-In this room you will find four separate pillars sliding up and down from the ground. The two nearest ones on the left are tossing a glowing orb back and forth. You do not need this orb; It is simply there to show you how to use these pillars to your advantage.
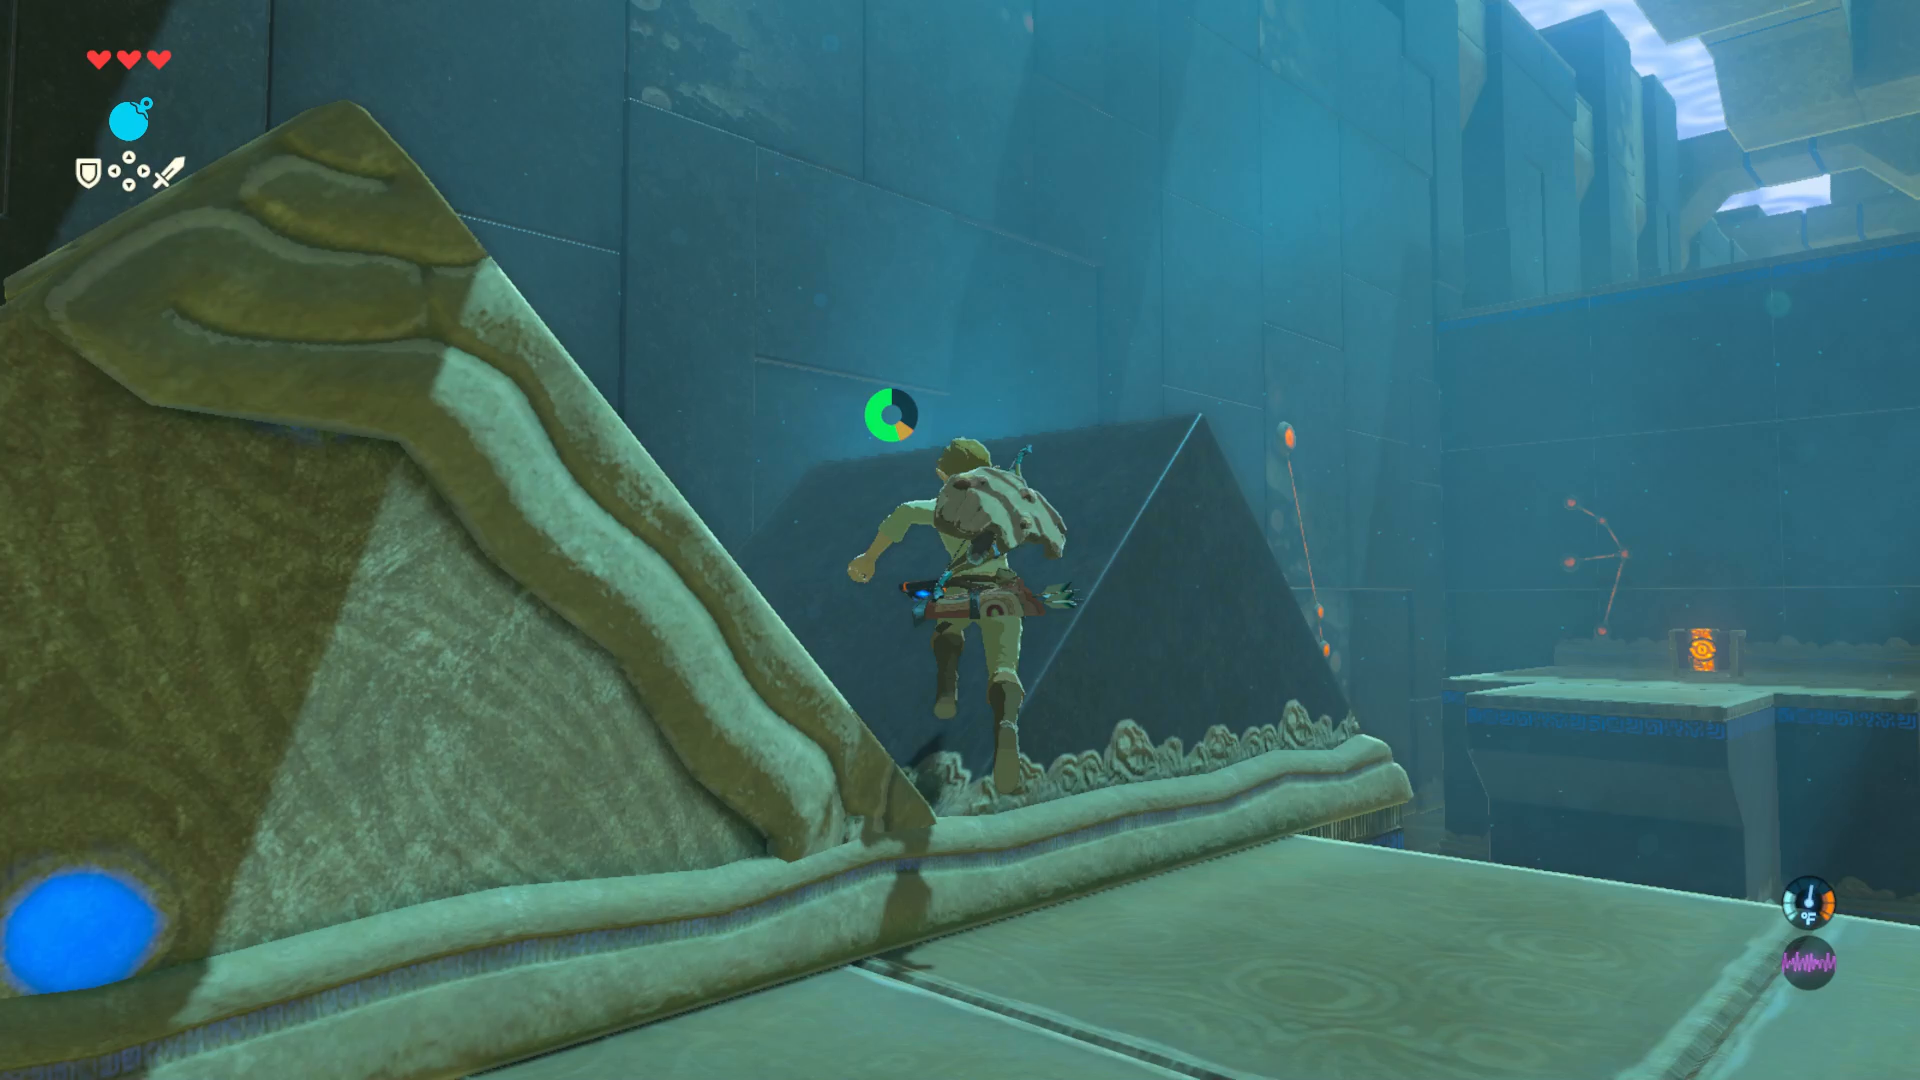
-Walk over to the moving pillar on the far left and stand in front of it when it is at its lowest point. It will toss you to the opposite platform where you will find a chest containing a material called Amber. (This is a fossilized resin with a caramelesque sheen to it. It’s been valued as a component in decorations and crafting since ancient times.)
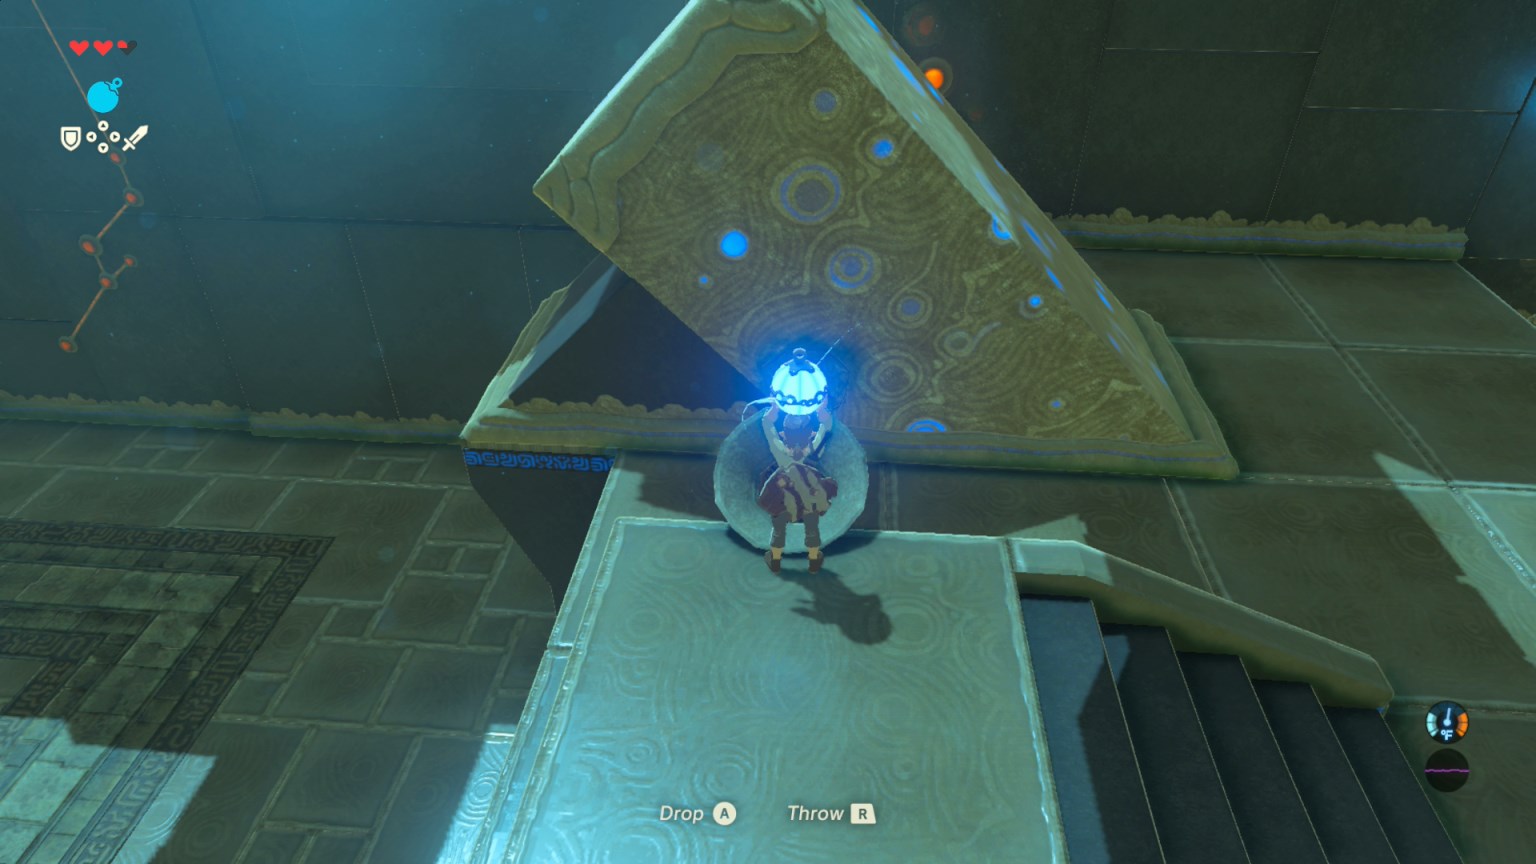
-Next go to the moving pillar on the far right side of the room. There you will find a circular funnel and a wall of stone blocks. Place a spherical bomb into the funnel then the pillar will toss it over to the stone wall where you can detonate it. You can then either use the moving pillar to toss you over or the ladder to climb up onto the platform. Then you can get the spirit orb from the monk Ja Baij.
OWA DAIM SHRINE
-You can now detonate the rock pile in front of the shrine for a quicker exit. (Warning: One of the Decayed Gaurdians on stasis is right outside this exit. You can use your bombs to attack remotely but they are extremely weak against it.)
The yellow cursor indicates the location of the old man’s cabin.
-Next head South West of this shrine where you will find the old man’s cabin. If you go inside you can find some food, an axe, and his diary.
-His diary will tell you about this special dish he created called the spicy meat and seafood fry. It is a recipe he uses to restore health and to keep him warm in cold climates. By using this meal he has no use of his warm doublet but he has forgotten one important ingredient for this recipe: fish.
-You will need this recipe or the warm doublet later on in order to get to the fourth and final shrine, Keh Namut. You can skip ahead to the Keh Namut Shrine instructions to prepare in advance or wait to do so after completing the Owa Daim Shrine.
-West of the old man’s cabin you’ll find the old man by the pine trees near the cliff where the second shrine lies. He will only be there during the day. If you need to pass some time sit by the pot outside of the cabin.
-You can also use this opportunity to cook up some of the ingredients you’ve picked up so far.
-Once you make it to the old man he will teach you how to chop down a tree. You can use any metal based weapon, preferably an axe, and face the direction you want the tree to fall then attack the tree. Chop down the tree nearest to the cliffside to make a bridge.
-Balance your way across and scale the rock wall. There are small platforms scattered throughout the climb up to allow you to rest and re-gain your stamina. It’s a long climb but slow and steady will win the race here. At the top, you will find the Owa Daim Shrine that houses the Stasis Trial.
-Go to the pedestal to get the Stasis Rune which will stop the flow of time for an object which you can use to build up its kinetic energy by hitting it while in stasis which will launch it once the flow of time has resumed.
-Use the stasis rune to stop the giant wheel when the platform is straight across so that you can walk over it.
-This next area will have a ramp with a stone ball rolling down it repeatedly. Use stasis on it to stop the flow so that you can make it up the ramp. At the top of the ramp there will be a chest containing a Traveler’s Shield.
-Head back down the ramp halfway and follow the platform to the right where you’ll find an Iron Sledgehammer and a narrow pathway with a stone ball blocking the way.
-Use stasis on the stone ball and hit it with the sledge hammer or whatever weapon you choose until the stasis timer runs out. This will knock the ball out of the way and you will be able to get the spirit orb from the monk Owa Daim.
KEH NAMUT SHRINE
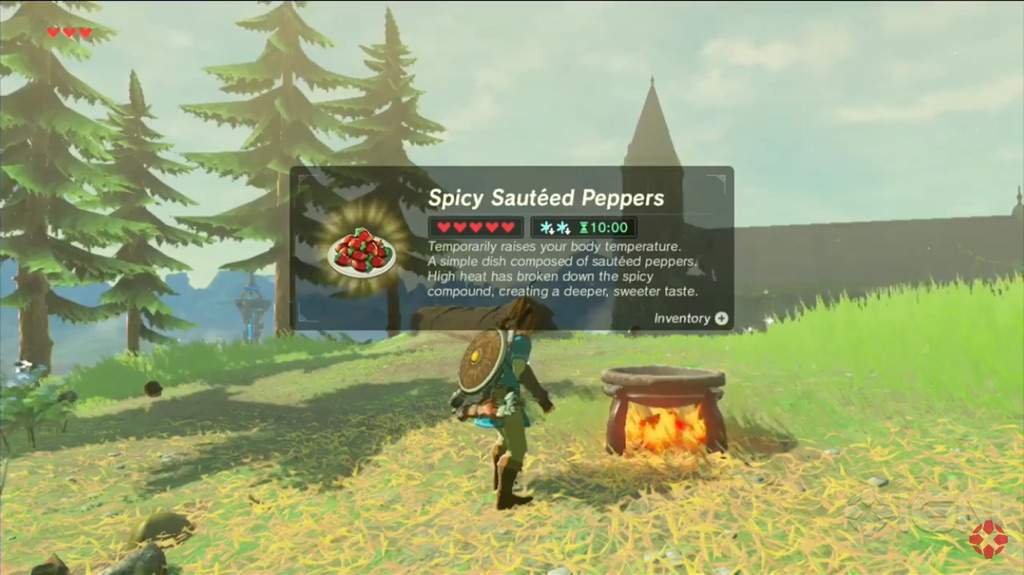
-For the fourth shrine you have two options. One option is to cook the old man his special recipe he has forgotten so that you may get the Warm Doublet which you can use to reach the shrine. Another option is to cook meals with the spicy peppers to create meals that gives you temporary resistance to the cold climate which will also help you get to the shrine. Without either of these you will take damage upon entering an area with a colder climate.
-Option One: Head back to the old man’s cabin and cook his Spicy Meat and Seafood Fry recipe in the pot outside. You’ll need a raw piece of meat, which you can get from the boar’s in the Forest of Spirits, a Hyrule Bass, which you can find in most of the ponds, and a spicy pepper, which you can find inside the old man’s cabin. Select all of the ingredients and place them in the pot and it should give you the Spicy Meat and Seafood Fry. Give the food to the old man and he will give you his warm doublet.
This pot is located west of the Temple of TIme near the River of the Dead.
-Option Two: You can use the old man’s recipe for yourself or you can make up your own recipes utilizing the spicy peppers to achieve different time limits for cold resistance. If you need more spicy peppers head west of the Temple of Time. There will be some growing next to the entrance leading to the River of the Dead.
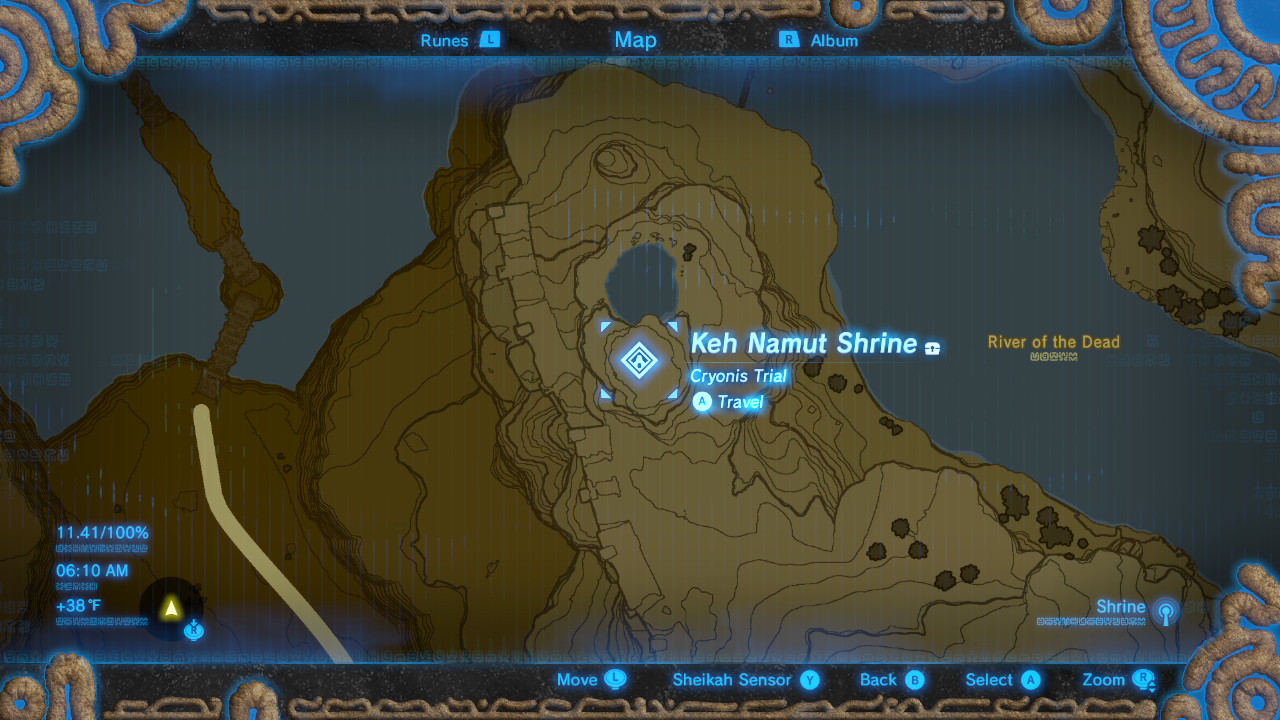
-Now make your way to the River of the Dead, either by teleporting to the Owa Daim Shrine and climbing over Mount Hylia or head West from the Temple of Time where you’ll find a path leading directly to the River of the Dead.
-If you head in the former direction you’ll follow the mountain terrain north to the hill where the Keh Namut Shrine lies.
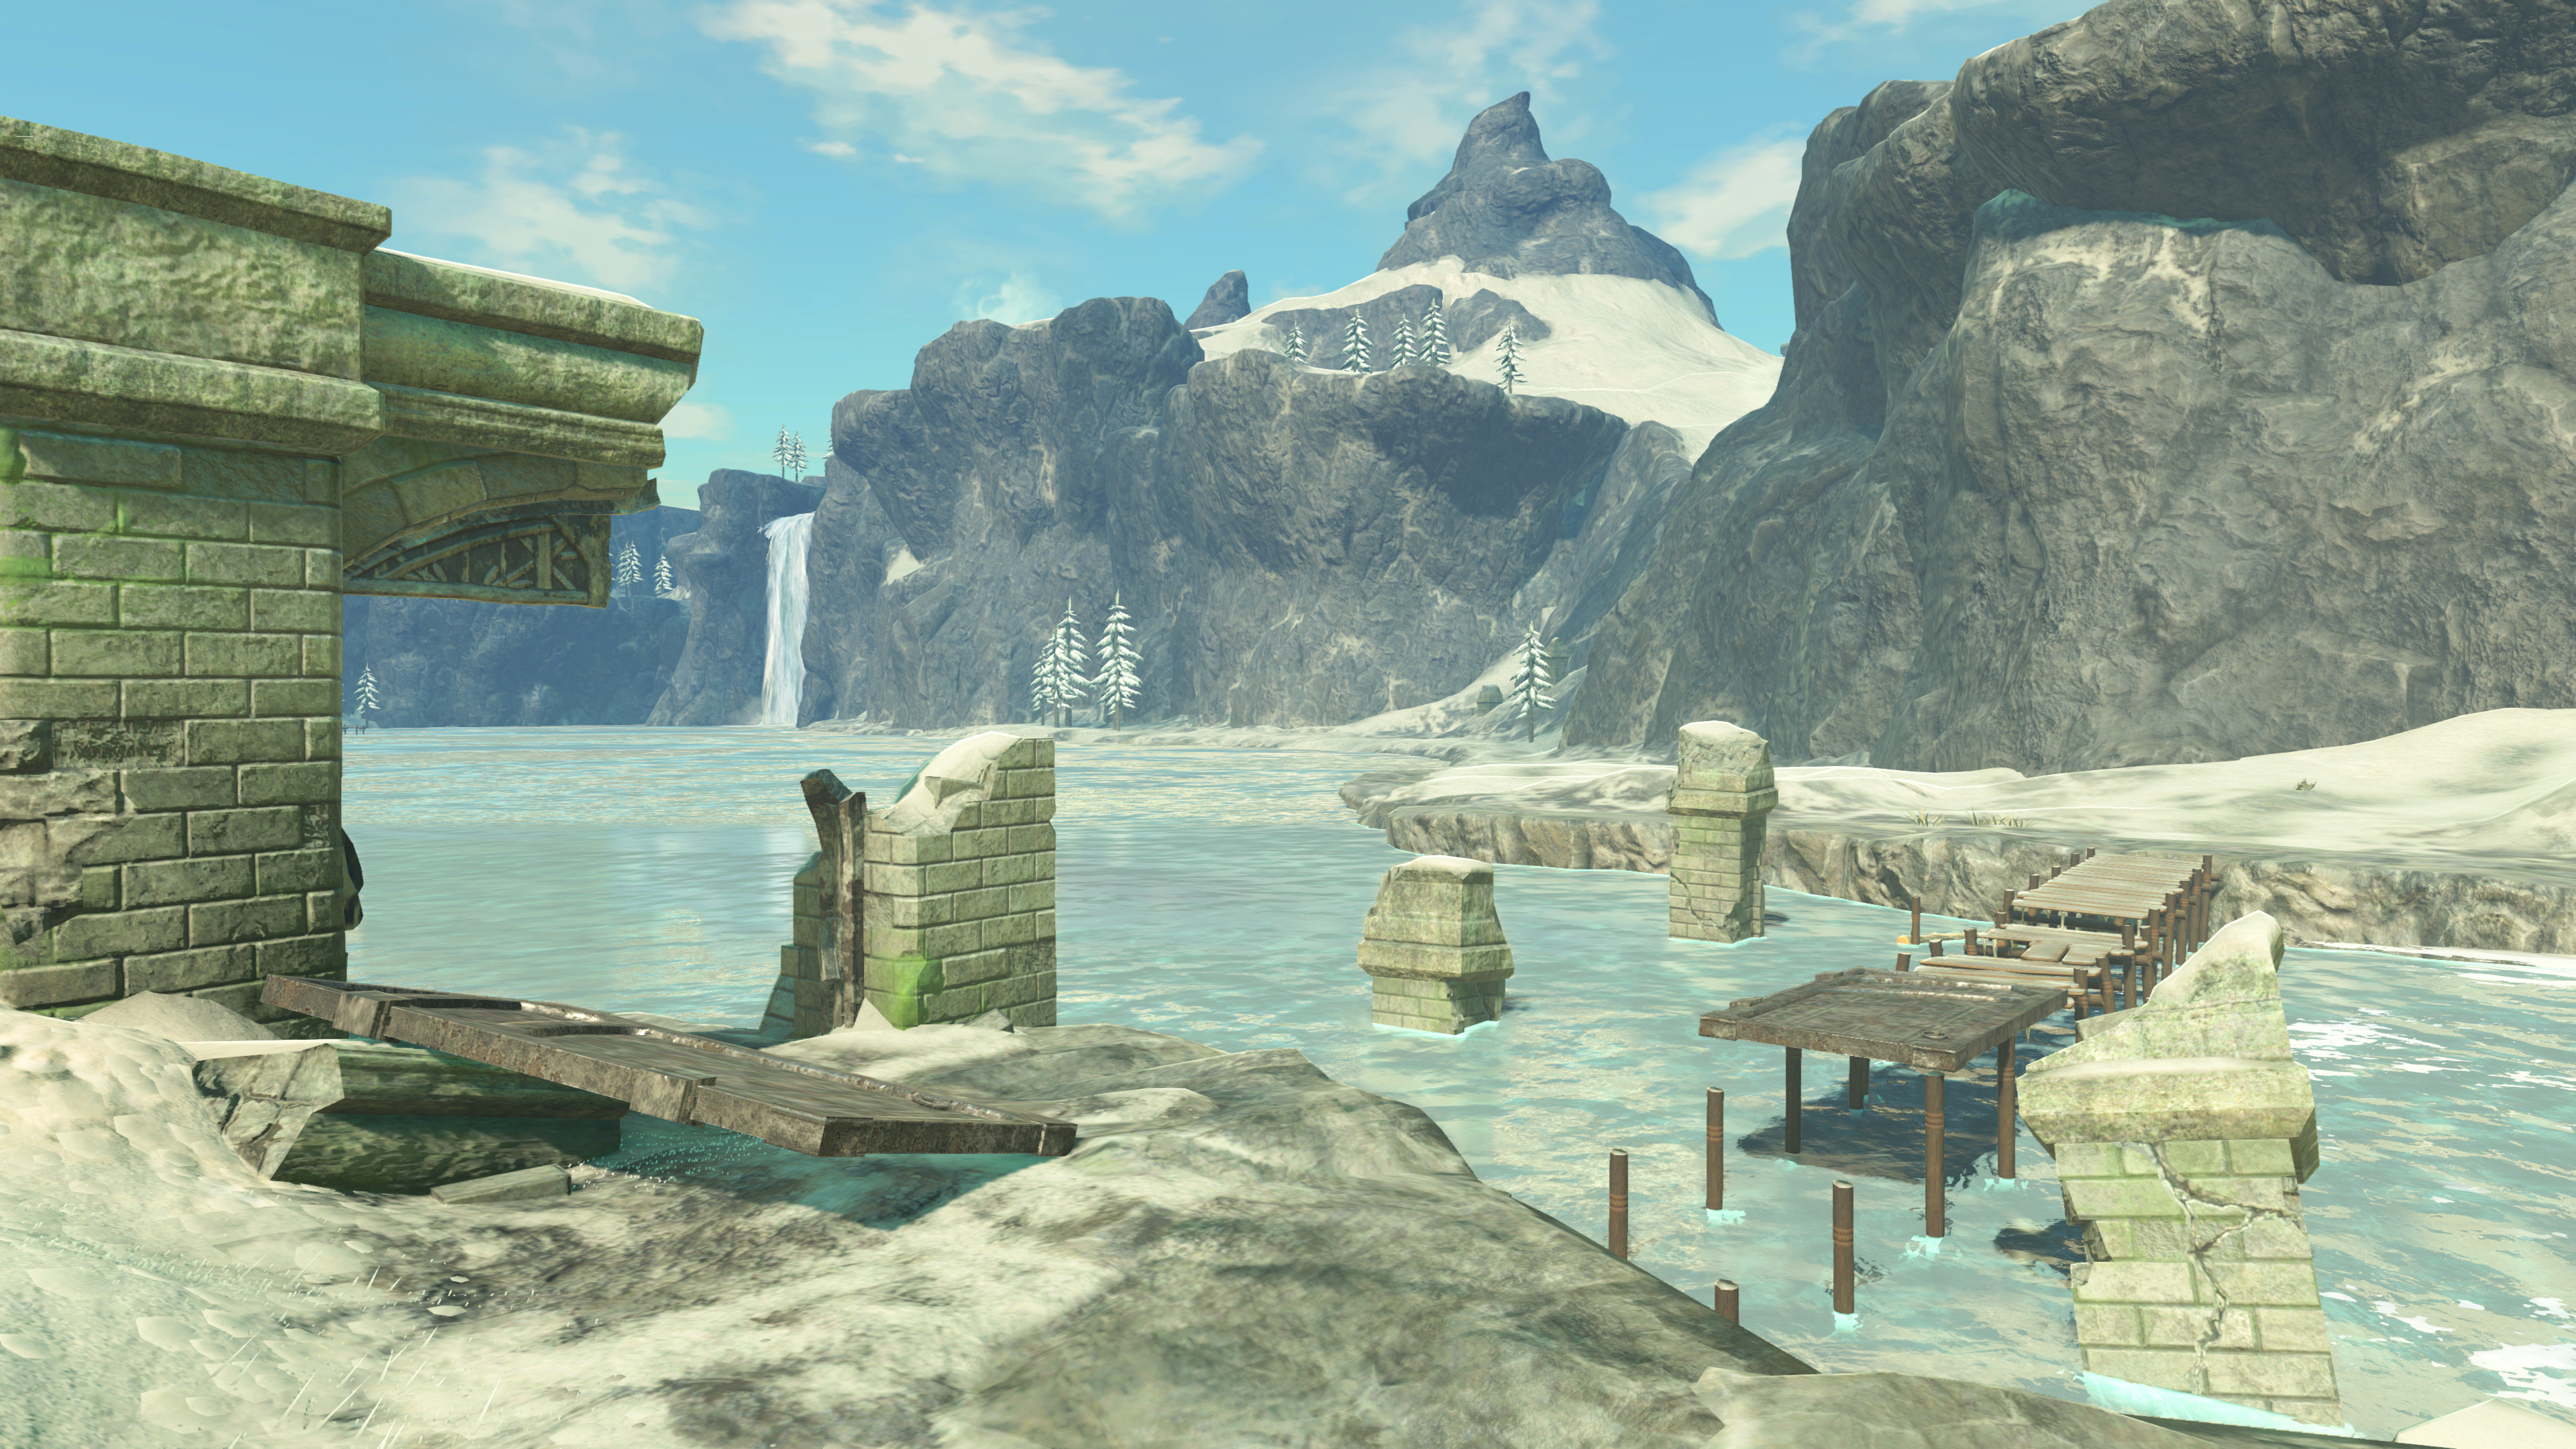
The River of the Dead bridge ruins.
-If you head in the latter direction then you’ll need to look out for a metal brick to use the Magnesis Rune on to make a make-shift pathway to the ransack bridge and then cross to the other side. Now make your way up the hill until you reach the Keh Namut Shrine.
-Go to the pedestal to receive the Cryonis Rune which creates a pillar of ice from a water surface. These can be used to prop things up or to give you a stepping stone to reach somewhere that is too high.
-Use the Cryonis Rune on the pool of water to make it over the ledge.
The second room within the Keh Namut Shrine.
-In the next room use Cryonis underneath the bars to lift them up and walk underneath them.
-The next room will have a Gaurdian Scout to defeat. On the left of him there is a ledge with a chest containing a Traveler’s Spear. Use cryonis to reach the chest.
-On the right there is a stone bar balancing on a triangle structure. Use cryonis underneath one end of the stone bar to prop it up so that it makes a platform. Use this to walk up to the next floor. From here you will be able to get the Spirit Orb from the monk Keh Namut.
-The old man will appear and tell you to meet him where four lines intersect with the four shrines being the end points. He is referring to the Temple of Time.
-Upon entering the Temple of Time go to the giant Goddess Hylia statue and pray to it. In exchange for four of your spirit orbs she will either increase your heart container’s by one or increase your stamina vessel by one third. Choose whichever you prefer.
-After this the old man will call out to you from the roof of the Temple of Time telling you to get to him quickly. On the outside of the Temple where the wall has been split open there is a ladder that you can use to get to the roof.
-He will be waiting for you in the tower. He will tell you his true identity, what happened 100 years ago, who you are, and what you need to do next. He will then give you the paraglider. With it you can now leave the Great Plateau.
-The chest on the left contains a Soldier’s Bow. You will now have completed The Isolated Plateau quest.
