Defeating the bosses of The Wind Waker is easy with our Legend of Zelda: Wind Waker Bosses Strategy guide.
We have a comprehensive strategy guide written for all of the bosses in the game.
Wind Waker Bosses
Gohma
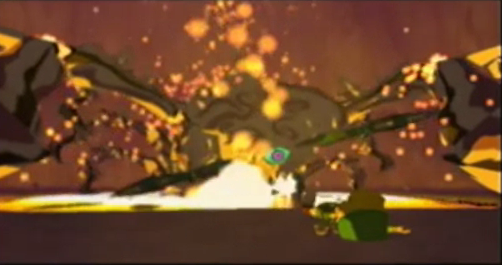
When you enter the room, make sure you have your grappling hook equipped. Approach the pool of lava in the center of the room, and you will notice Valoo’s tail hanging from the ceiling. Suddenly, Gohma, a monstrous enemy with a hard exoskeleton, will burst from the lava. With such an impenetrable shell, it is currently impossible to damage her. If you try to target her eye, Gohma will simply close it.
While being careful for her claws and fire breath, grapple onto Valoo’s tail. Once you let go, a large sheet of rock will fall, cracking Gohma’s shell. Repeat this two more times and the exoskeleton will shatter, leaving Gohma vulnerable to more direct attacks.
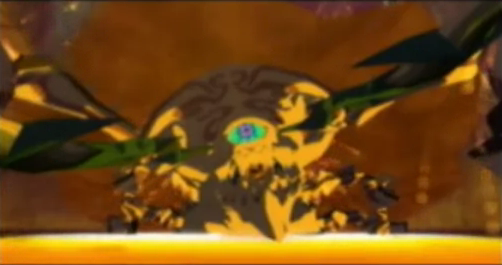
You now have two options. First, Gohma will try to attack you by slamming down her claws and breathing fire at you. When she does this, you can run up and slash her eye with your sword. Your other option is to use your grappling hook on Gohma’s eye, and slash at it after pulling it in. Either option works, and after a few attacks she will harden and shatter. The lava pool will cool and harden as well. Collect your heart and enter the whirlwind to warp out of the dungeon.
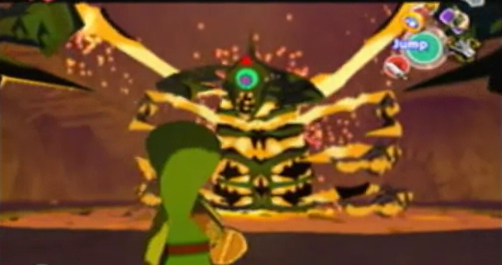
Damage:
• Pincers = 1/4 heart
• Claw Smash = 1/2 heart
• Fire Breath = 1/2 heart
Kalle Demos
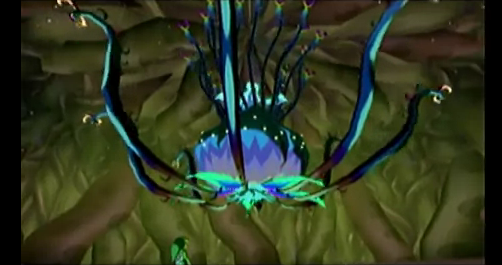
Whip out your boomerang and step inside the boss chamber. Watch as Makar is swallowed and Kalle Demos attaches himself to the ceiling with thin vines. Then, he’ll grow massive barbed vines.
The first thing that you must do is cut the vines with your boomerang, causing Kalle Demos to fall. Be quick as the vines grow back after a short period of time. Also, watch out for the large barbed vines. If they are glowing (they almost look electrically charged) Kalle Demos is planning on slamming them down to damage you. The vines can also bury themselves, and they will pop up next to you to attack.

Once you have cut all of the ropes, Kalle Demos will fall and expose its center. Don’t be distracted by all of the spores that are released. Run in and attack the head with either your sword or your boomerang. After a short time, Kalle Demos will close back up. Two strategies here are to allow yourself to be swallowed in order to get in more hits or to try to escape before it closes. I would recommend the first option, since you only take one heart of damage and it saves a lot of time. Choose one option and repeat this process until its head is severed. Talk to Makar, grab the heart piece, and exit the dungeon.
Damage:
• Vine Whip = 1/4 heart
• Underground Vines = 1/4 heart
• Swallowed = 1 heart
Gohdan
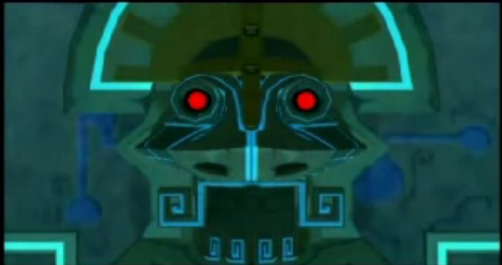
Now that you have climbed to the top of the tower, you have one final challenge before the gods will accept you as a hero. Gohdan will awaken and the battle will begin.
Gohdan has four eyes, two on his head and two on his hands. The two on his head are closed, so you must use your arrows to attack the eyes on his hands. During this time, the hands can become fists that smash you. Also, they can try to push you off of the platform and onto the electric floor.
After two arrows for each hand, the eyes on Gohdan’s head will open. Once again shoot the eyes with arrows. Gohdan will occasionally blast you with fire balls, but these are usually easy to dodge by simply moving to one side. Be careful not to take too much time, since his hands will reawaken.
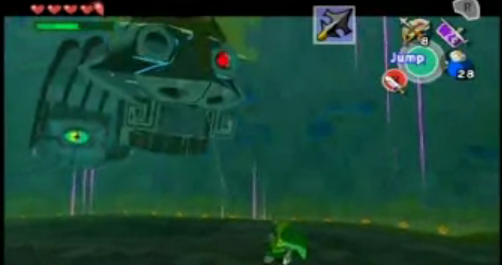
Once you have finished off all of the eyes, toss a bomb into Gohdan’s mouth. Everything will then come back to life. If you ever run out of bombs or arrows, Gohdan will sneeze some out. Repeat this two more times to finish your trial and prove that you truly are a hero.
Damage:
• Fist = 1/4 heart
• Electric Floor = 1/4 heart
• Fire Ball = 1/2 heart
Phantom Ganon
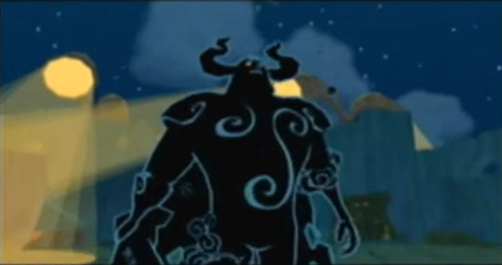
This battle is very similar to the battles against Phantom Ganon and Ganondorf in Ocarina of Time, though Phantom Ganon has a more ghostly appearance.
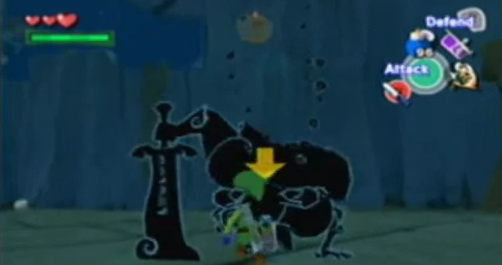
Phantom Ganon will create balls of energy and fire them at you. Volley them back and forth until he finally gets hit by one, causing him to fall from the sky. Run up and slash him with you sword. When volleying the energy balls, you can use your sword or, for some unknown reason, an empty bottle.
Phantom Ganon will also occasionally materialize behind you and perform a spin attack. Either dodge this attack or try to parry it. After a few hits he will be defeated, and you can claim your prize, the Skull Hammer.
Damage:
• Energy Ball = 1/2 heart
• Spin Attack = 2 hearts
Helmaroc King
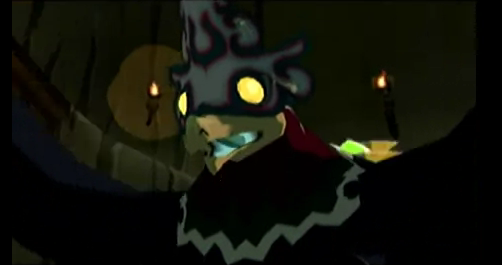
You may have saved your sister, but you aren’t quite done with the Forsaken Fortress. The Helmaroc King will swoop down, and the room will start to flood. Run up the spiral ramp that is on the sides of the room. The Helmaroc King will attempt to ram into you, dealing some damage and destroying the wooden ramps. There will also be some Bokoblins that you can either destroy or run past. If you do fall through one of the holes left by the ramps, you can use the grappling hook to make your ascension to the roof. When you finally reach the top, the Helmaroc King will block your path. Smash its face with your Skull Hammer to knock it down into the rising water. The floor will then close, and the Helmaroc King will barely escape.
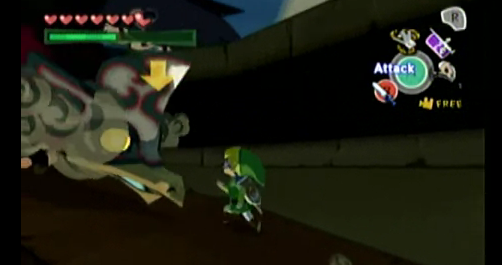
The Helmaroc King will now fly through the sky and land on the platform. If you are very close to its feet, it will attempt to stomp on you. Also, it will sometimes fly by quickly, raking its talons against the floor. Finally, it will try to peck you. If you can dodge its peck, its beak will be lodged in the floor. Use the hammer to damage its mask, and after several hits the mask will shatter.
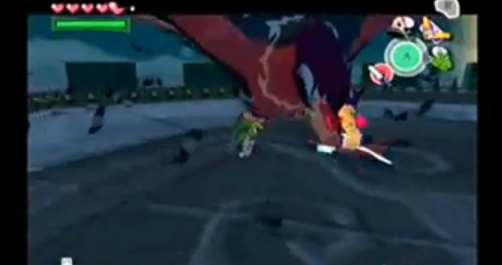
The Helmaroc King will flap its wings in anger, pushing you towards the spikes on the walls. The battle will then continue like before, except you can now hurt it with your sword, arrows, boomerang, grappling hook, and Skull Hammer. After a few more hits the Helmaroc King will be defeated, and you can grab your fourth heart container.
Damage:
• Spikes on Wall = 1/4 heart
• Stomp = 1/2 heart
• Talons = 1/2 heart
• Peck = 1/2 heart
Jalhalla
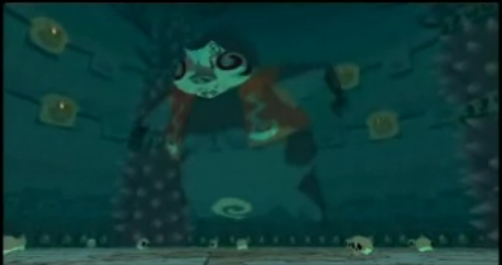
Enter the boss chamber to find a multitude of poes. The mask of Jalhalla will appear and absorb all of the poes, creating a large aggregation of poes. Just like a normal poe, you must use your mirror shield to stun him with sunlight before he can be damaged. Watch out for his two attacks. First, he will shake his lantern, releasing large fireballs. Second, he will suck in everything in the room, then release a stream of fire from his mouth or blow towards the spikes around the room. Also, though this is not really an attack, he will occasionally turn purple and body slam you. If he succeeds, you will be possessed and your controls will be reversed.
Once you have stunned Jalhalla, use the strength given to you by your power bracelets to lift Jalhalla and toss him at one of the spiked columns. This will cause him to separate into the poes that you saw earlier. Defeat as many as you can, and after a short time, the poes will regroup.
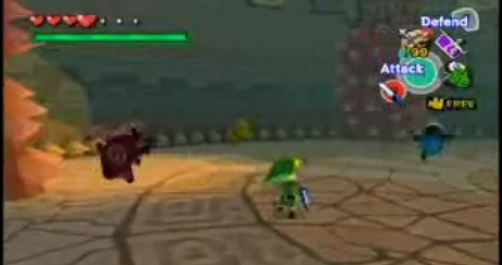
Repeat the process of stunning Jalhalla, throwing him at the spikes, and destroying the poes until there are none left. Jalhalla’s mask will reappear, but without any poes it can do nothing. It attempts to escape but is caught in the sunlight and shatters. Collect the heart container, then enter the glowing center of the triforce to upgrade your Master Sword.
Damage:
• Fireballs = 1 heart
• Flamethrower = 1 1/2 hearts
• Body Slam/Possession = Reversed Controls
Molgera
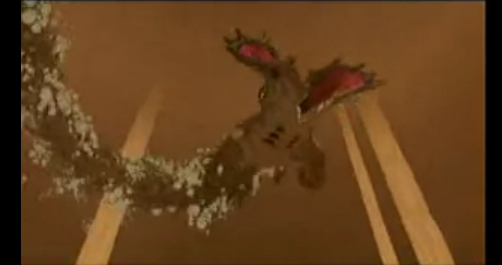
Equip your hookshot and approach the pedestal in the center of the room. As you near the pedestal, it will sink and Molgera will burst out of the sand. The boss, which bears a close resemblance to the Lanmolas from A Link to the Past, will fly into the air, circle around the room, and crash back into the ground, creating a dark sinkhole in the center of the room.
Approach the sinkhole, and Molgera will resurface. Use your hookshot to latch onto the tongue that emerges from its mouth and pull it towards you, then proceed to attack it with your sword. Be careful not to get too close, as Molgera can swallow you, dealing two full hearts of damage. After a few hits, Molgera will hide in the sand and send out three baby Molgeras. You can either kill them or avoid them, though killing them will make the rest of the battle a little easier.
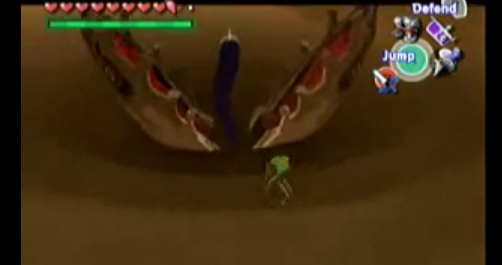
Eventually the dark sinkhole will move to where you are standing and Molgera will reemerge. Make sure to get far enough away that Molgera cannot eat you, then grab its tongue and attack like before. However, if you decided not to kill the babies, this will be a little more difficult than before. When L-targeting, it is easy to focus on a baby Molgera, and since they constantly enter and exit the opaque sand, you lose track of them easily. This causes you to rapidly be changing targets, making it easy for you to lose track of where you are and to get swallowed by Molgera.
Molgera will occasionally leave the sand and fly around the room. Stay on the move so that Molgera cannot hit you when it returns to the ground. Continue to attack the tongue until Molgera is defeated.
Molgera will once again return to the air, only to harden and crumble away, leaving nothing but a heart container. The pedestal will now reemerge from beneath the sand, with the center of the triforce symbol glowing blue. Collect the heart container, then move into the blue light to watch Link conduct Makar and Fado through the Wind God’s Aria, restoring the Master Sword to its full power.
Damage:
• Contact with baby Molgera = 1/2 heart
• Swallowed by Molgera = 2 hearts
• Contact with Molgera = 2 hearts
Phantom Ganon

Phantom Ganon is back and better than ever. In addition to his blue energy ball, he can now conjure up pink energy balls. In order to return these, you must perform a spin attack at the moment before they collide with you. This will cause all of the orbs to fly back at Phantom Ganon. He will also occasionally split into five copies of himself, and they will all swing their swords at you. This can seem difficult, until you realize that the real one is always behind you.
Whichever attack he uses, damage him to make him disappear and drop his sword. Enter the door that the hilt points to in order to fight Phantom Ganon again. Repeat this until you finally reach a new room. Defeat him normally one last time to procure the light arrows. Enter the final door to warp out of the Illusionary Room. Phantom Ganon will appear once more, but a single hit from your new light arrows will vanquish him for good.
Damage:
• Blue Orb = 1/2 heart
• Pink Orbs = 2 hearts
• Sword Attack = 2 hearts
Puppet Ganon
Puppet Ganon’s weak point is the blue ball at the end of his tail. It can be damaged only by Light Arrows. This is something to be aware of in all three stages of the battle.
Part 1 (Puppet Form):
The puppet’s body is held up by large ropes. Using the boomerang, it is possible to cut these ropes (except for the main red rope). Cutting a rope will cause the corresponding part of the puppet’s body to be rendered useless. If he has any free hands, he will attempt to punch you. He may also try to body slam you. Once you have a good opening, fire a Light Arrow at the ball at the end of his tail. It is not actually necessary to cut any ropes, but not doing so makes it difficult to find an opening. The most useful rope to cut is the tail rope. After a hit, the ropes will be repaired. Make three successful hits to move on the next stage.
Damage:
• Punch = 1 heart
• Body Slam = 1 heart
Part 2 (Spider Form):
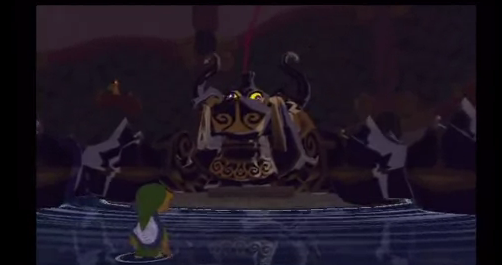
In his Spider form, Puppet Ganon will spin around at the top of the room, then try to crush you as he comes hurtling down. Enter free-camera mode to see his reflection in the water. Once he has stopped spinning, run to the area in which the blue ball will fall while making sure that you are not hit by one of the legs. Once again, fire Light Arrows to break the ball. It is possible, though extremely difficult, to fire arrows as Puppet Ganon falls from the ceiling. If you can do this, it is possible to defeat the Spider form without it ever touching the floor (it immediately ascends after taking a hit).
Damage:
• Slam = 1 heart
Part 3 (Moldorm Form):
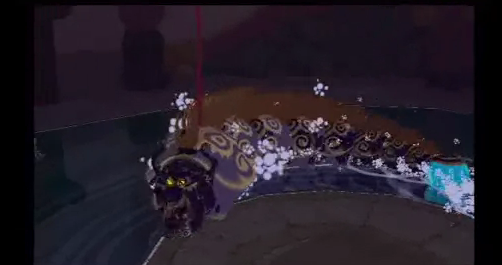
The Moldorm form is by far the hardest of the three. He moves very quickly, and he speeds up each time that you hit him. The safest strategy is to stand to the side and try to predict the best place to fire a Light Arrow based on his movements. However, this will probably take a long time because of his extreme speed and erratic movements. A somewhat more dangerous, but definitely faster, strategy is to throw bombs at his head or hit his head with your Skull Hammer. Timing can be an issue with this strategy, but if you can do either of these actions, Puppet Ganon will be stunned for a short period of time. There should be more than enough time for you to get a shot in at his weak point. Hitting his head with a Light Arrow or your sword will also stun him, though this method gives very little time. You must be extremely quick to do this. A final option is to throw some bait, drawing Puppet Ganon over to you. This is not the smartest strategy, as he will often just barrel right through you. Whichever method you choose, hit the blue ball three times to finally defeat Puppet Ganon.
Damage:
• Contact = 1 heart
Ganondorf
Zelda will aid you in this battle against Ganondorf. She occasionally fires Light Arrows at him. If one hits, he will be stunned; however, she can misfire, and if Ganondorf sees an arrow, he will jump out of the way. To stop him from seeing the arrows, position yourself so that Ganondorf is between you and Zelda. You can also throw your boomerang, forcing him to pause and block it. When he has been hit by a Light Arrow, run in and slash him as much as possible. Alternatively, you can use parries to damage him. Any other attacks will be blocked. You can use your shield to block his attacks as well, but if you do this too much, he will simply kick you under your shield.
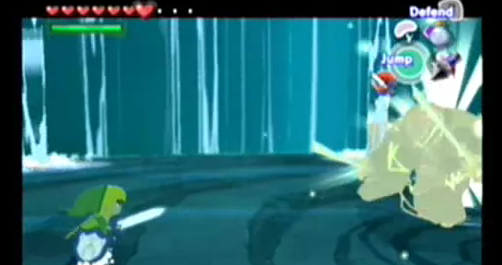
After being hit by three Light Arrows, Ganondorf will be fed up with Zelda and knock her out. Now, parrying is your only option. Continue to damage Ganondorf until Zelda wakes up.
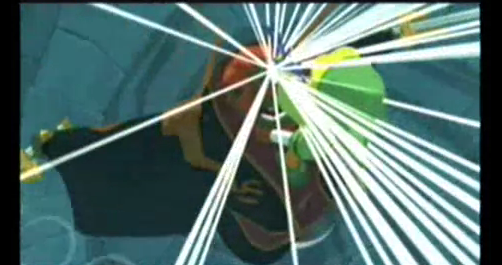
Ganondorf is getting angry. He will now block parries and jump away from Light Arrows that he cannot see. Speak to Zelda to formulate a new plan. She will now fire her Light Arrows at you, and you can deflect them at Ganondorf. Once you do so, parry one last time to thrust your blade into his skull, turning him to stone.
Damage:
• Sword = 1 heart
• Kick = 1 heart
• Light Arrow = 1 heart + stunned
Thank you for using our Wind Waker Bosses Strategy guide. I hope this page has been helpful in your quest to defeat all of the bosses in the Legend of Zelda: The Wind Waker.
