
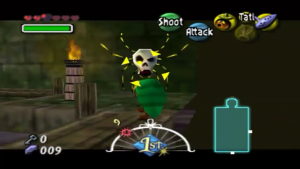
There are a total of four temples in The Legend of Zelda: Majora’s Mask. Each one of these temples has fifteen stray fairies, much like the little one you rescued in Clock Town. While collecting these fairies isn’t essential to beating the game, it’s very much worth it. You can get some pretty great rewards for simply keeping an eye out for these little guys.
This guide is designed to be used along-side a walkthrough, so it’s not going to detail much beyond the all-important fairies. There are also a couple of fairies that are in different places between the 3DS and N64 versions of this game. With the recent launch of Majora’s Mask on the 3DS, this walkthrough was created with that version in mind, but the differences will be noted in here as needed. With that, off we go!
Quick Navigation
Woodfall Temple Stray Fairy Locations
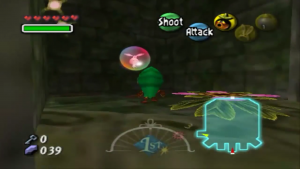
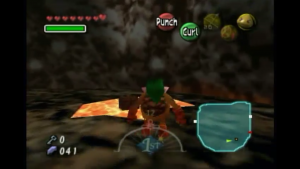
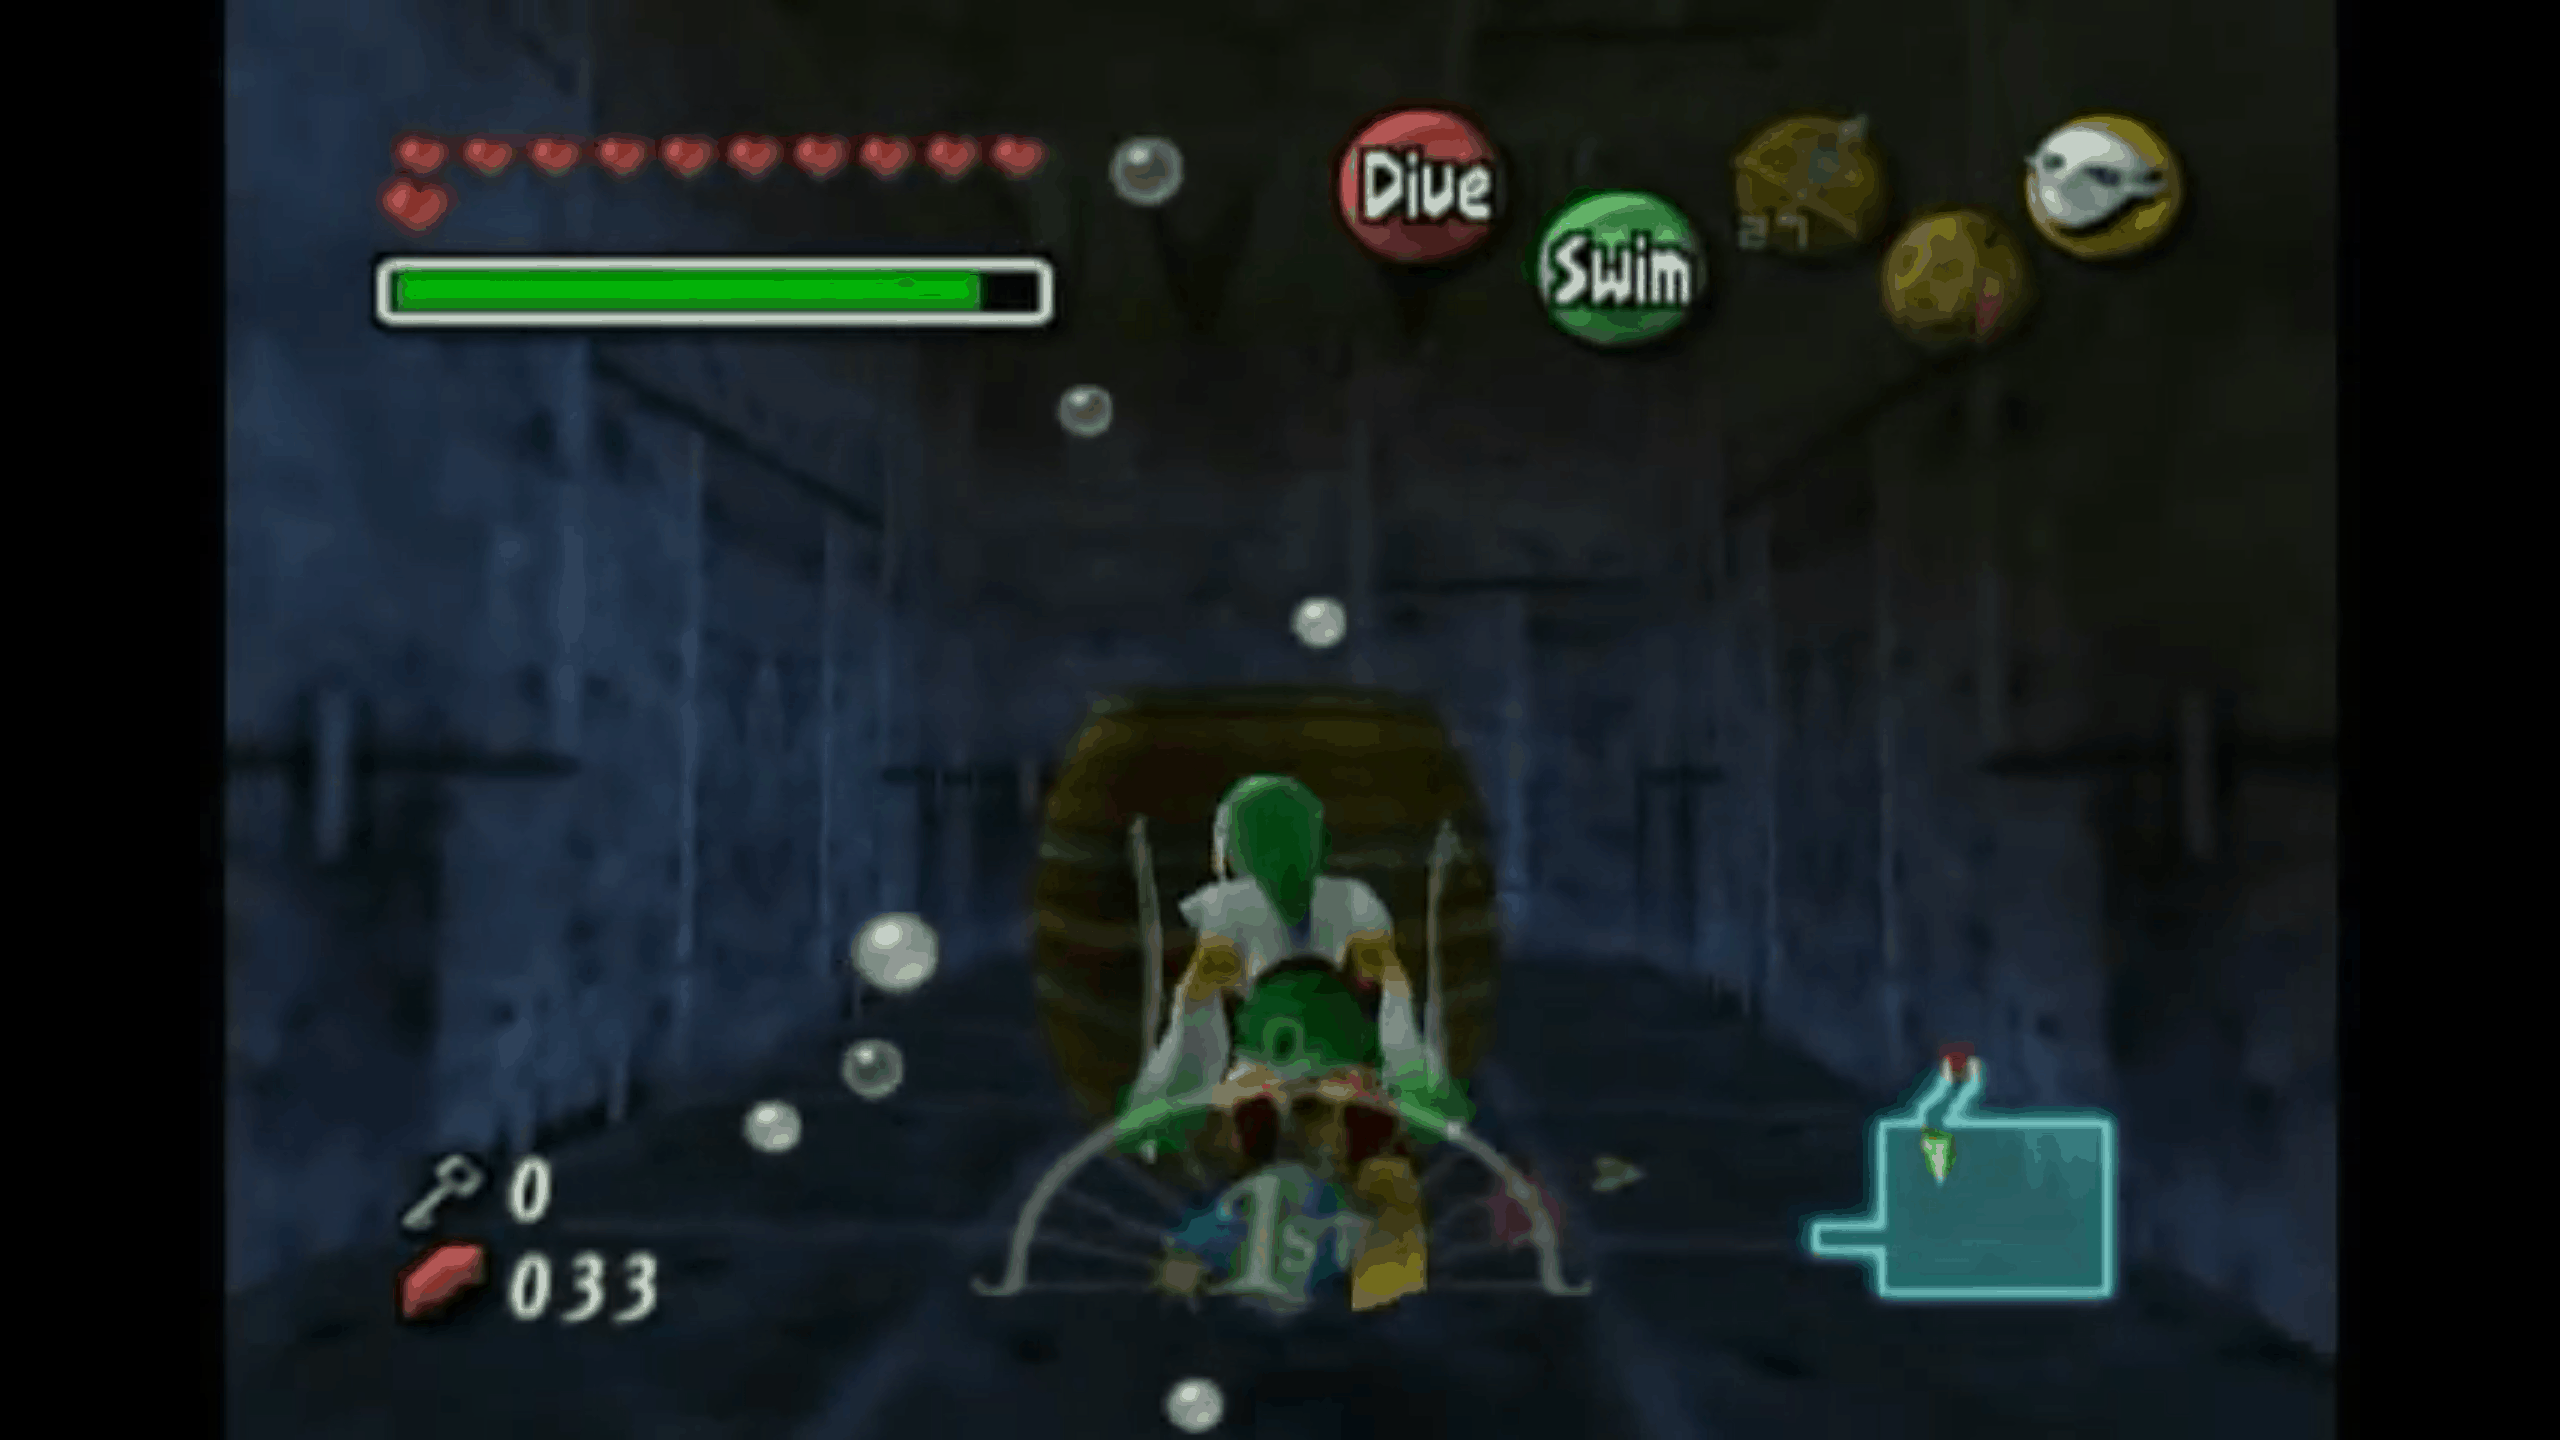
Here’s where you’ll need to look in Woodfall Temple. The shrine for these fairies is to the west of Woodfall temple, but still in the Woodfall area.
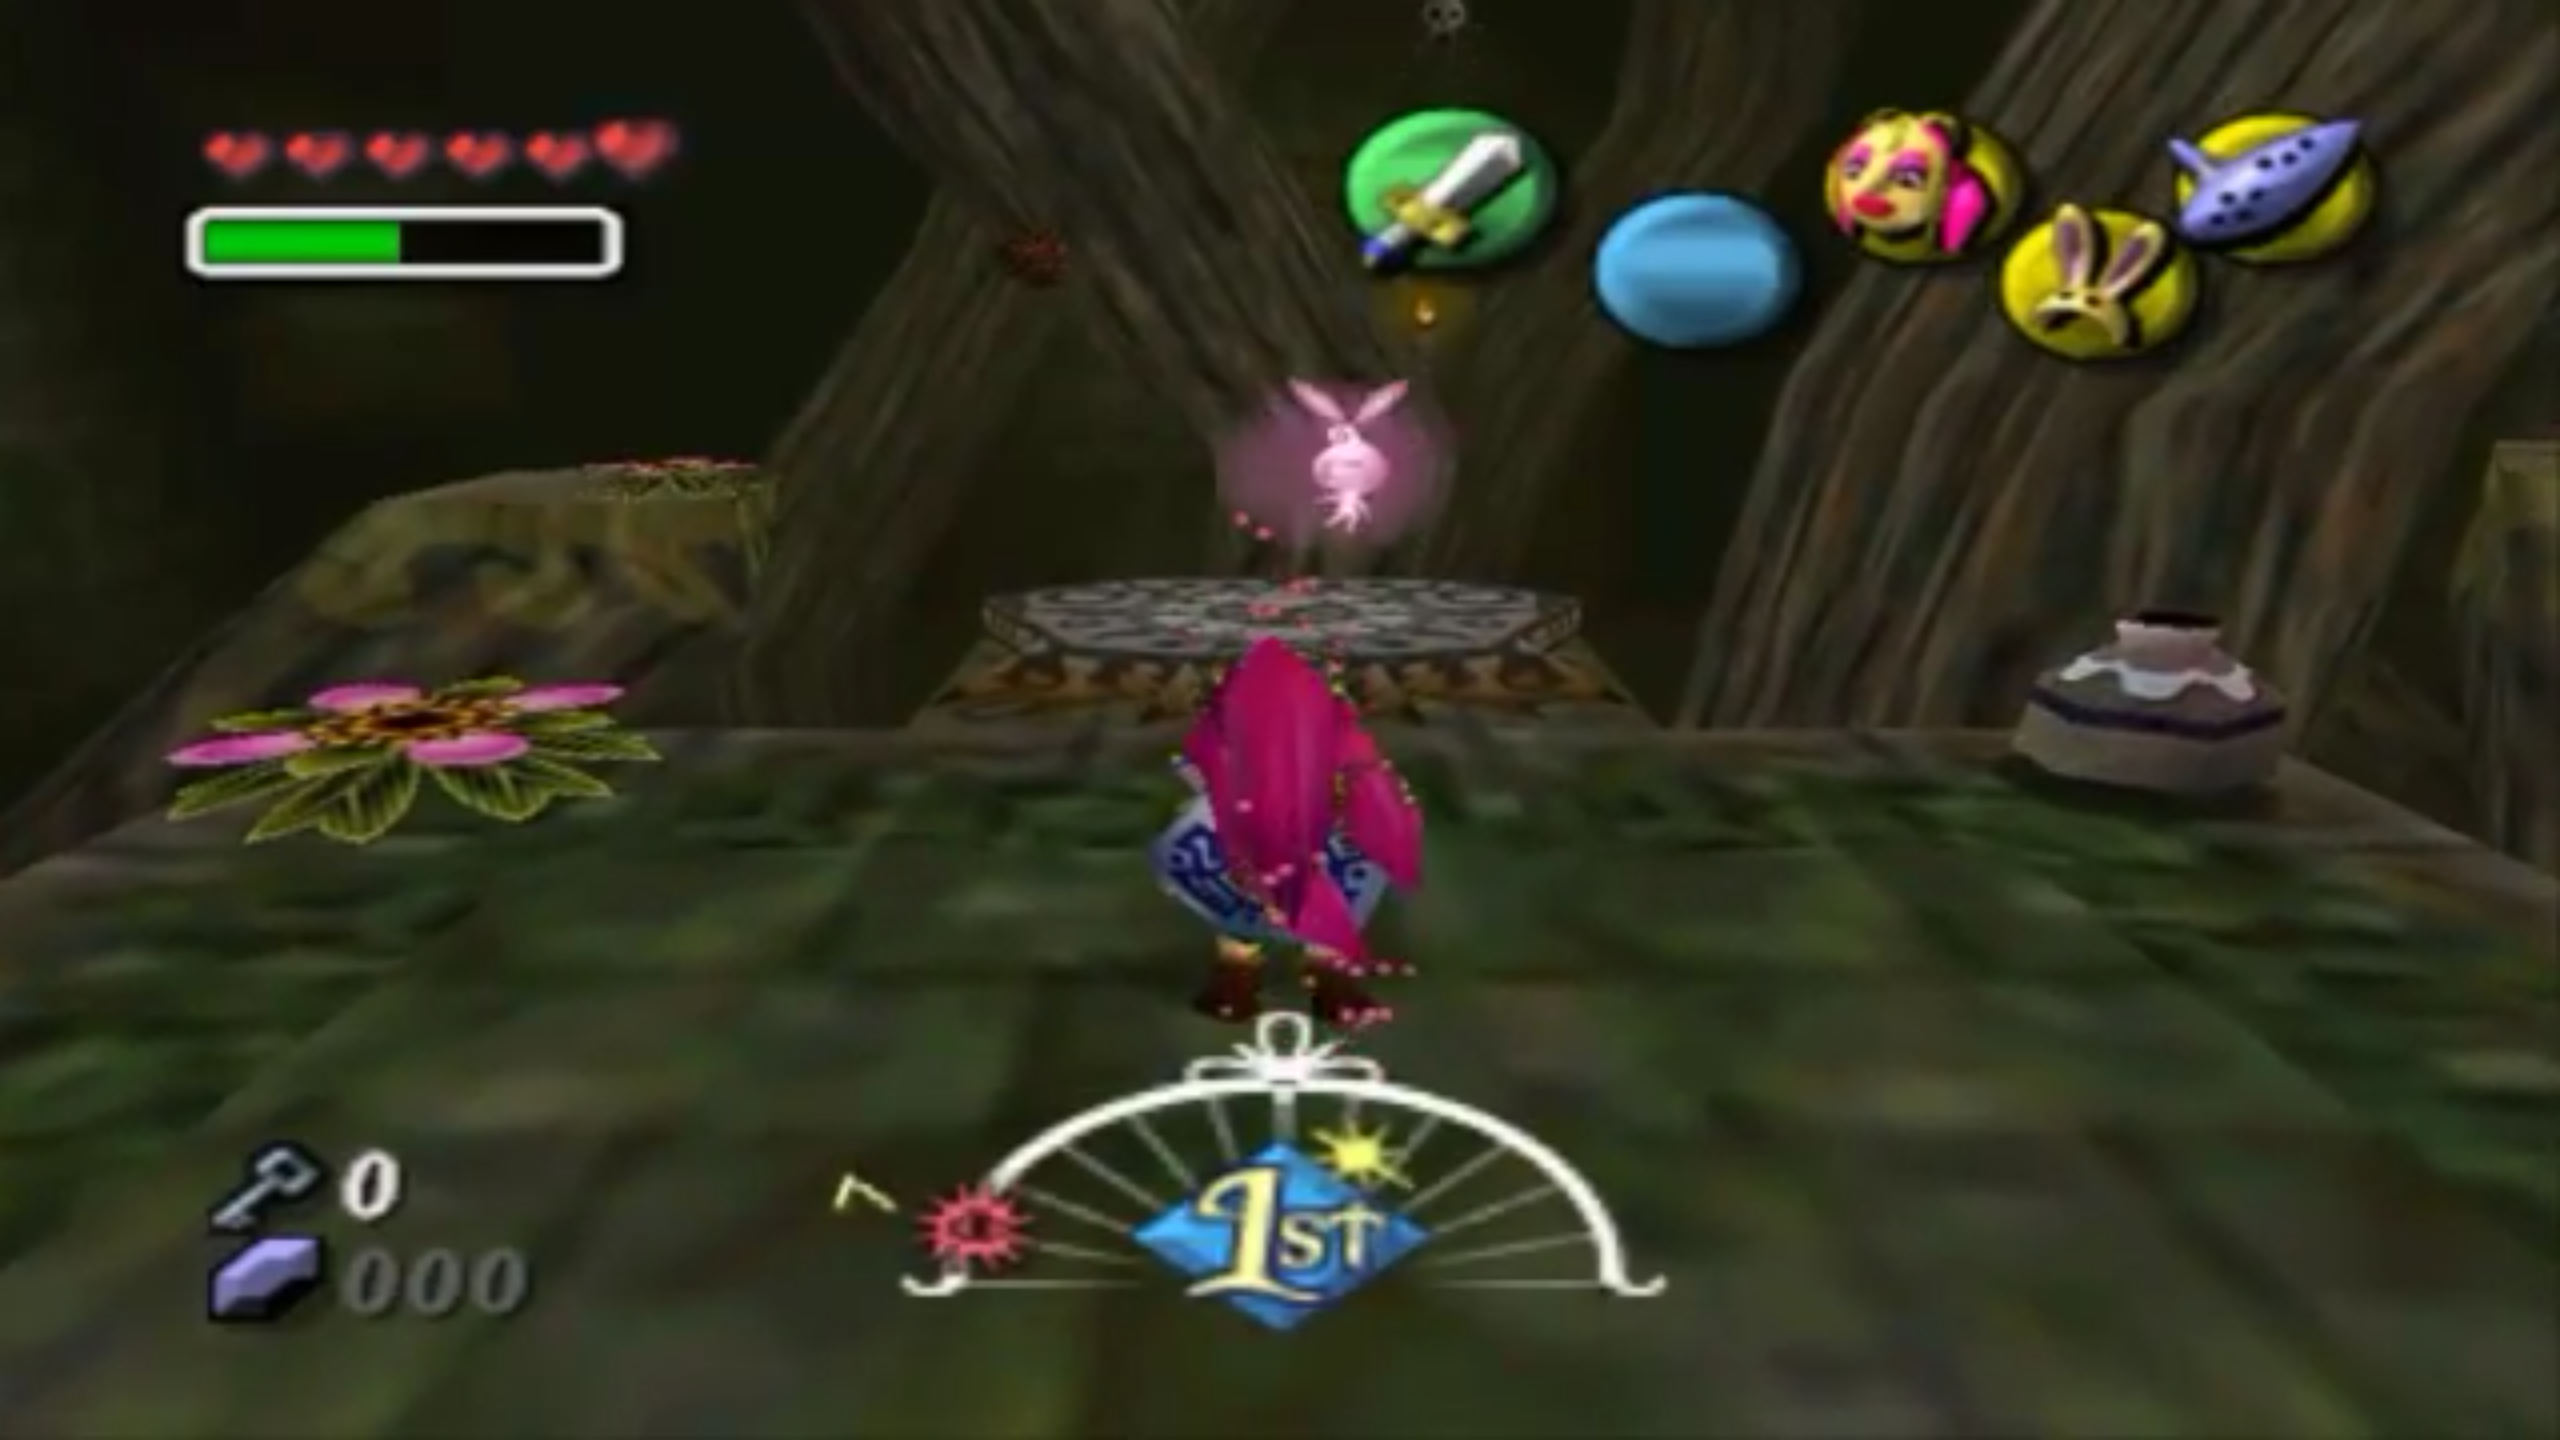
The first stray fairy is floating around as soon as you walk in. Nice and easy, right? All you need to do to collect her is put on the Great Fairy’s Mask. You can also grab her as you’re flying over to the second fairy, if you’d prefer to do that.
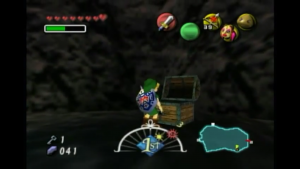
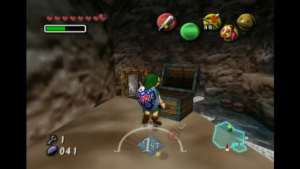
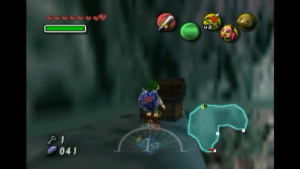
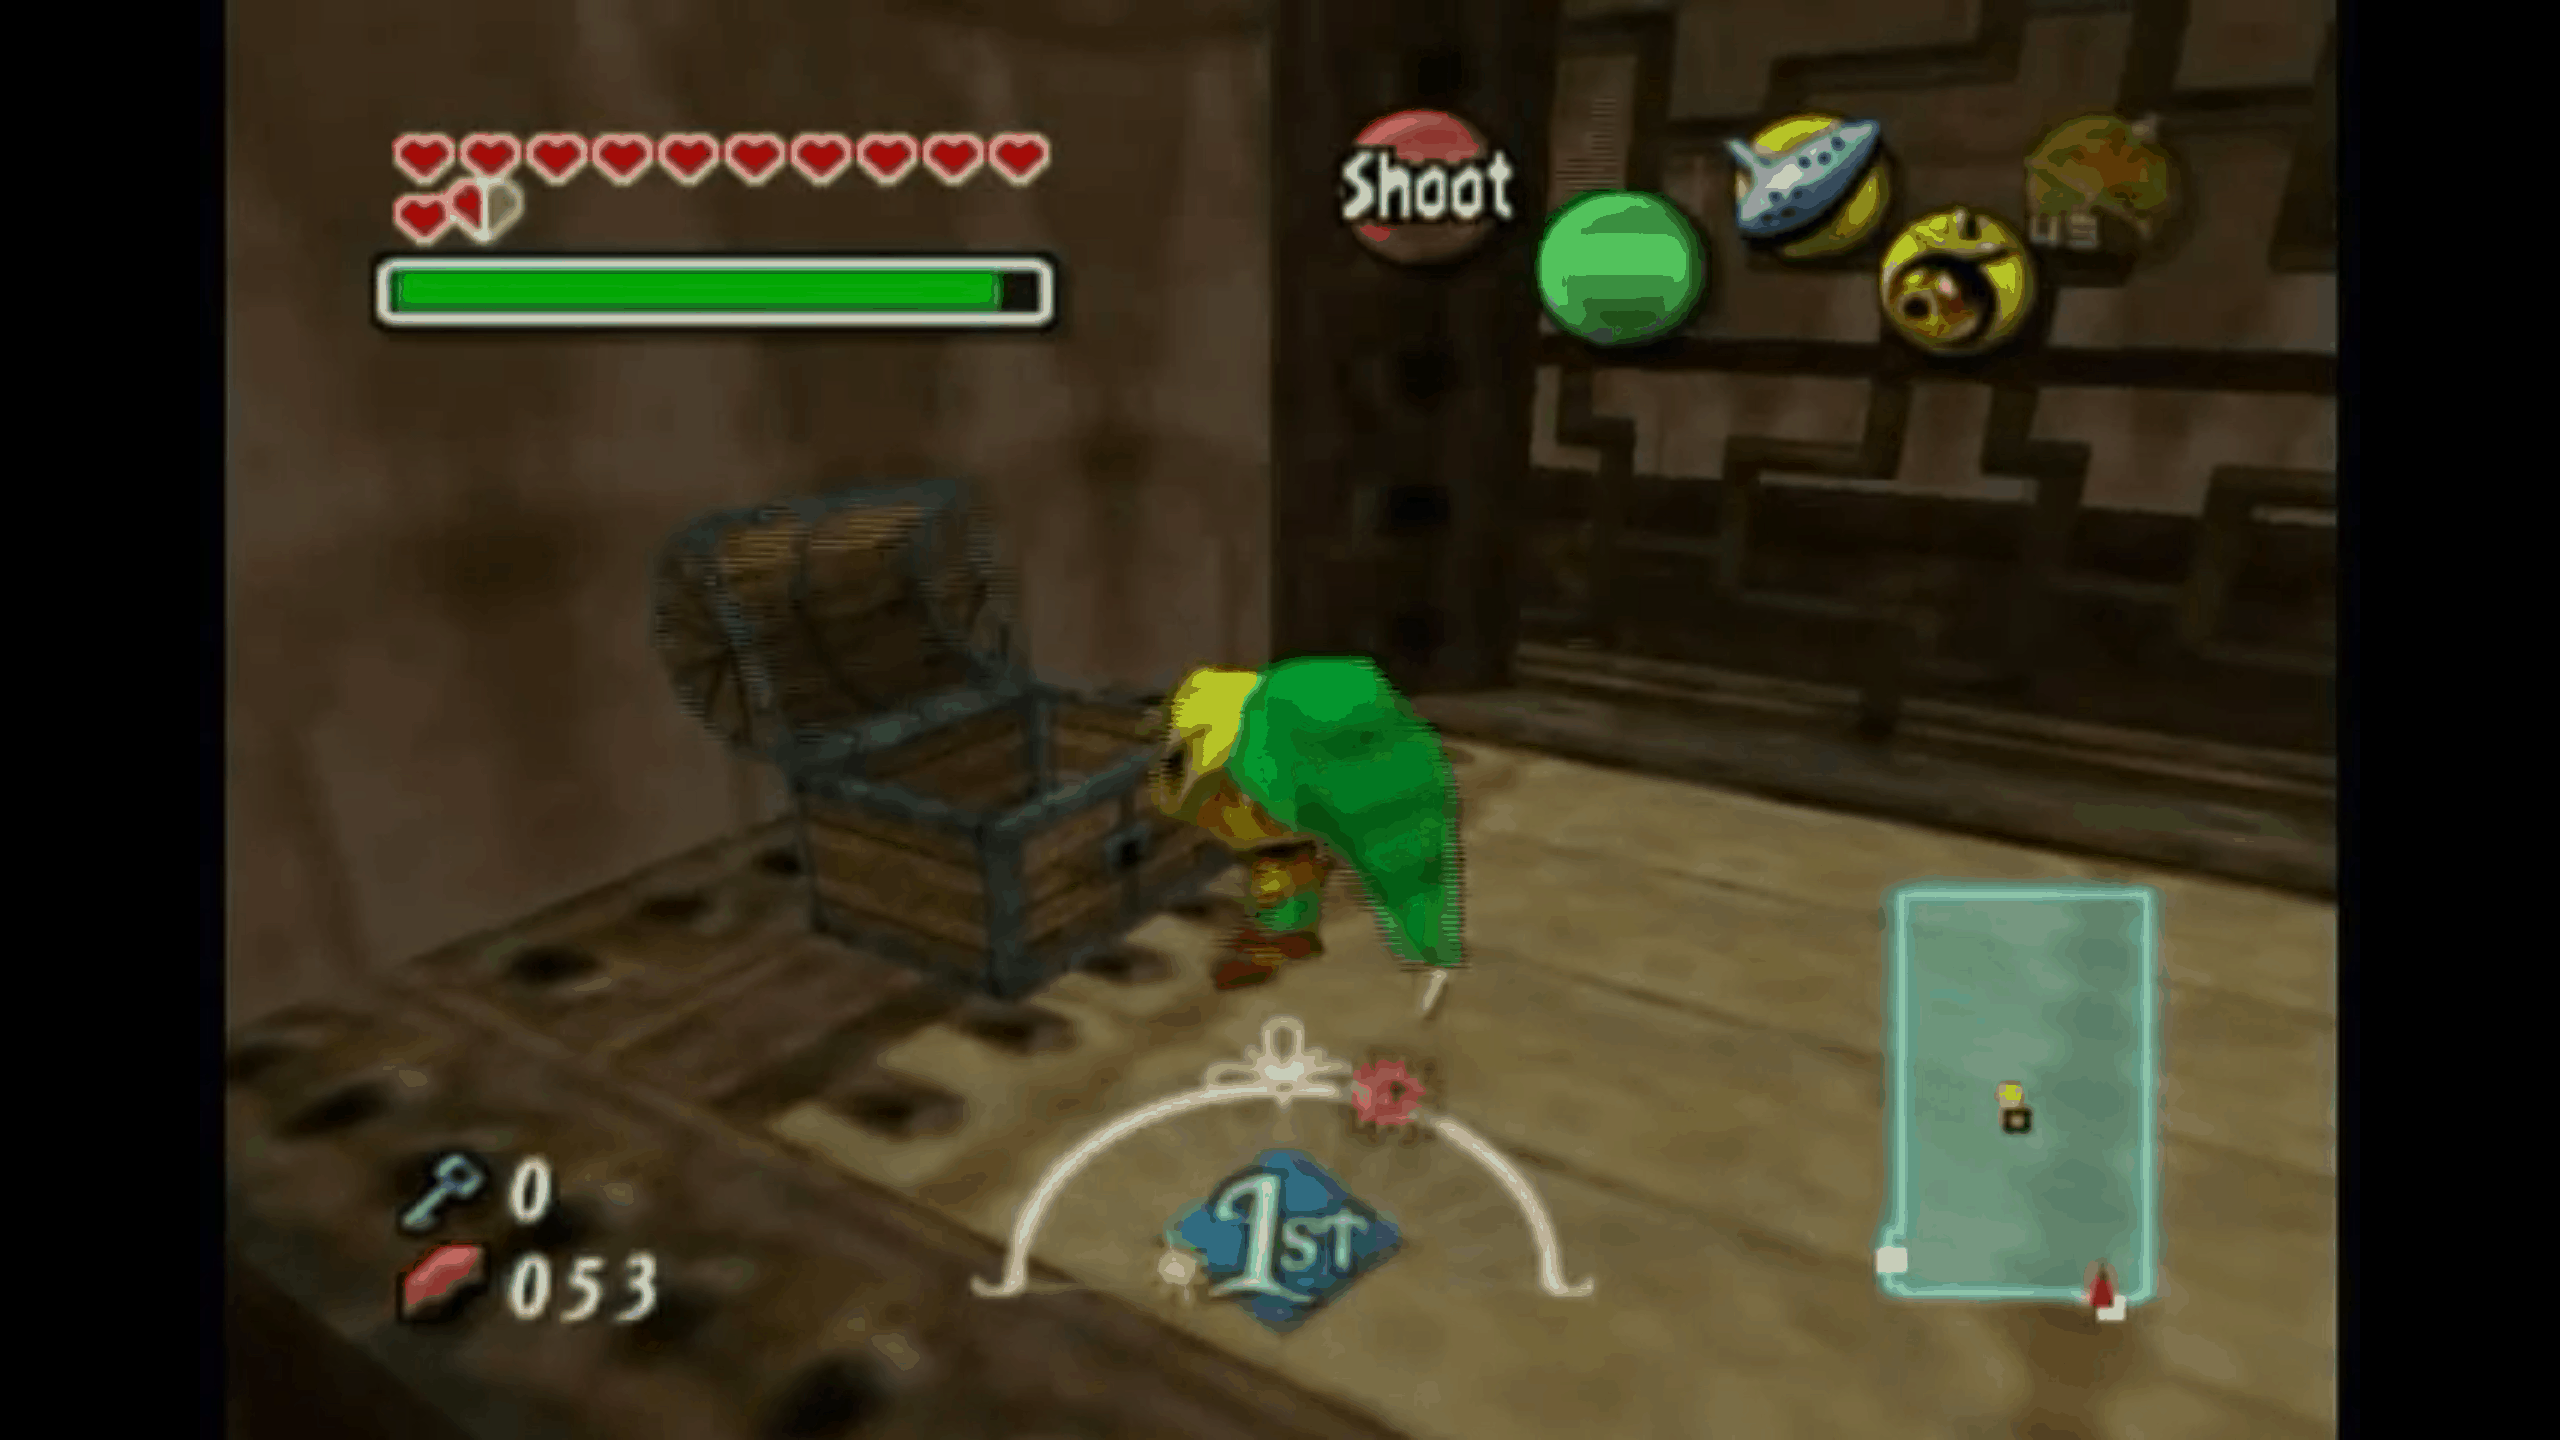
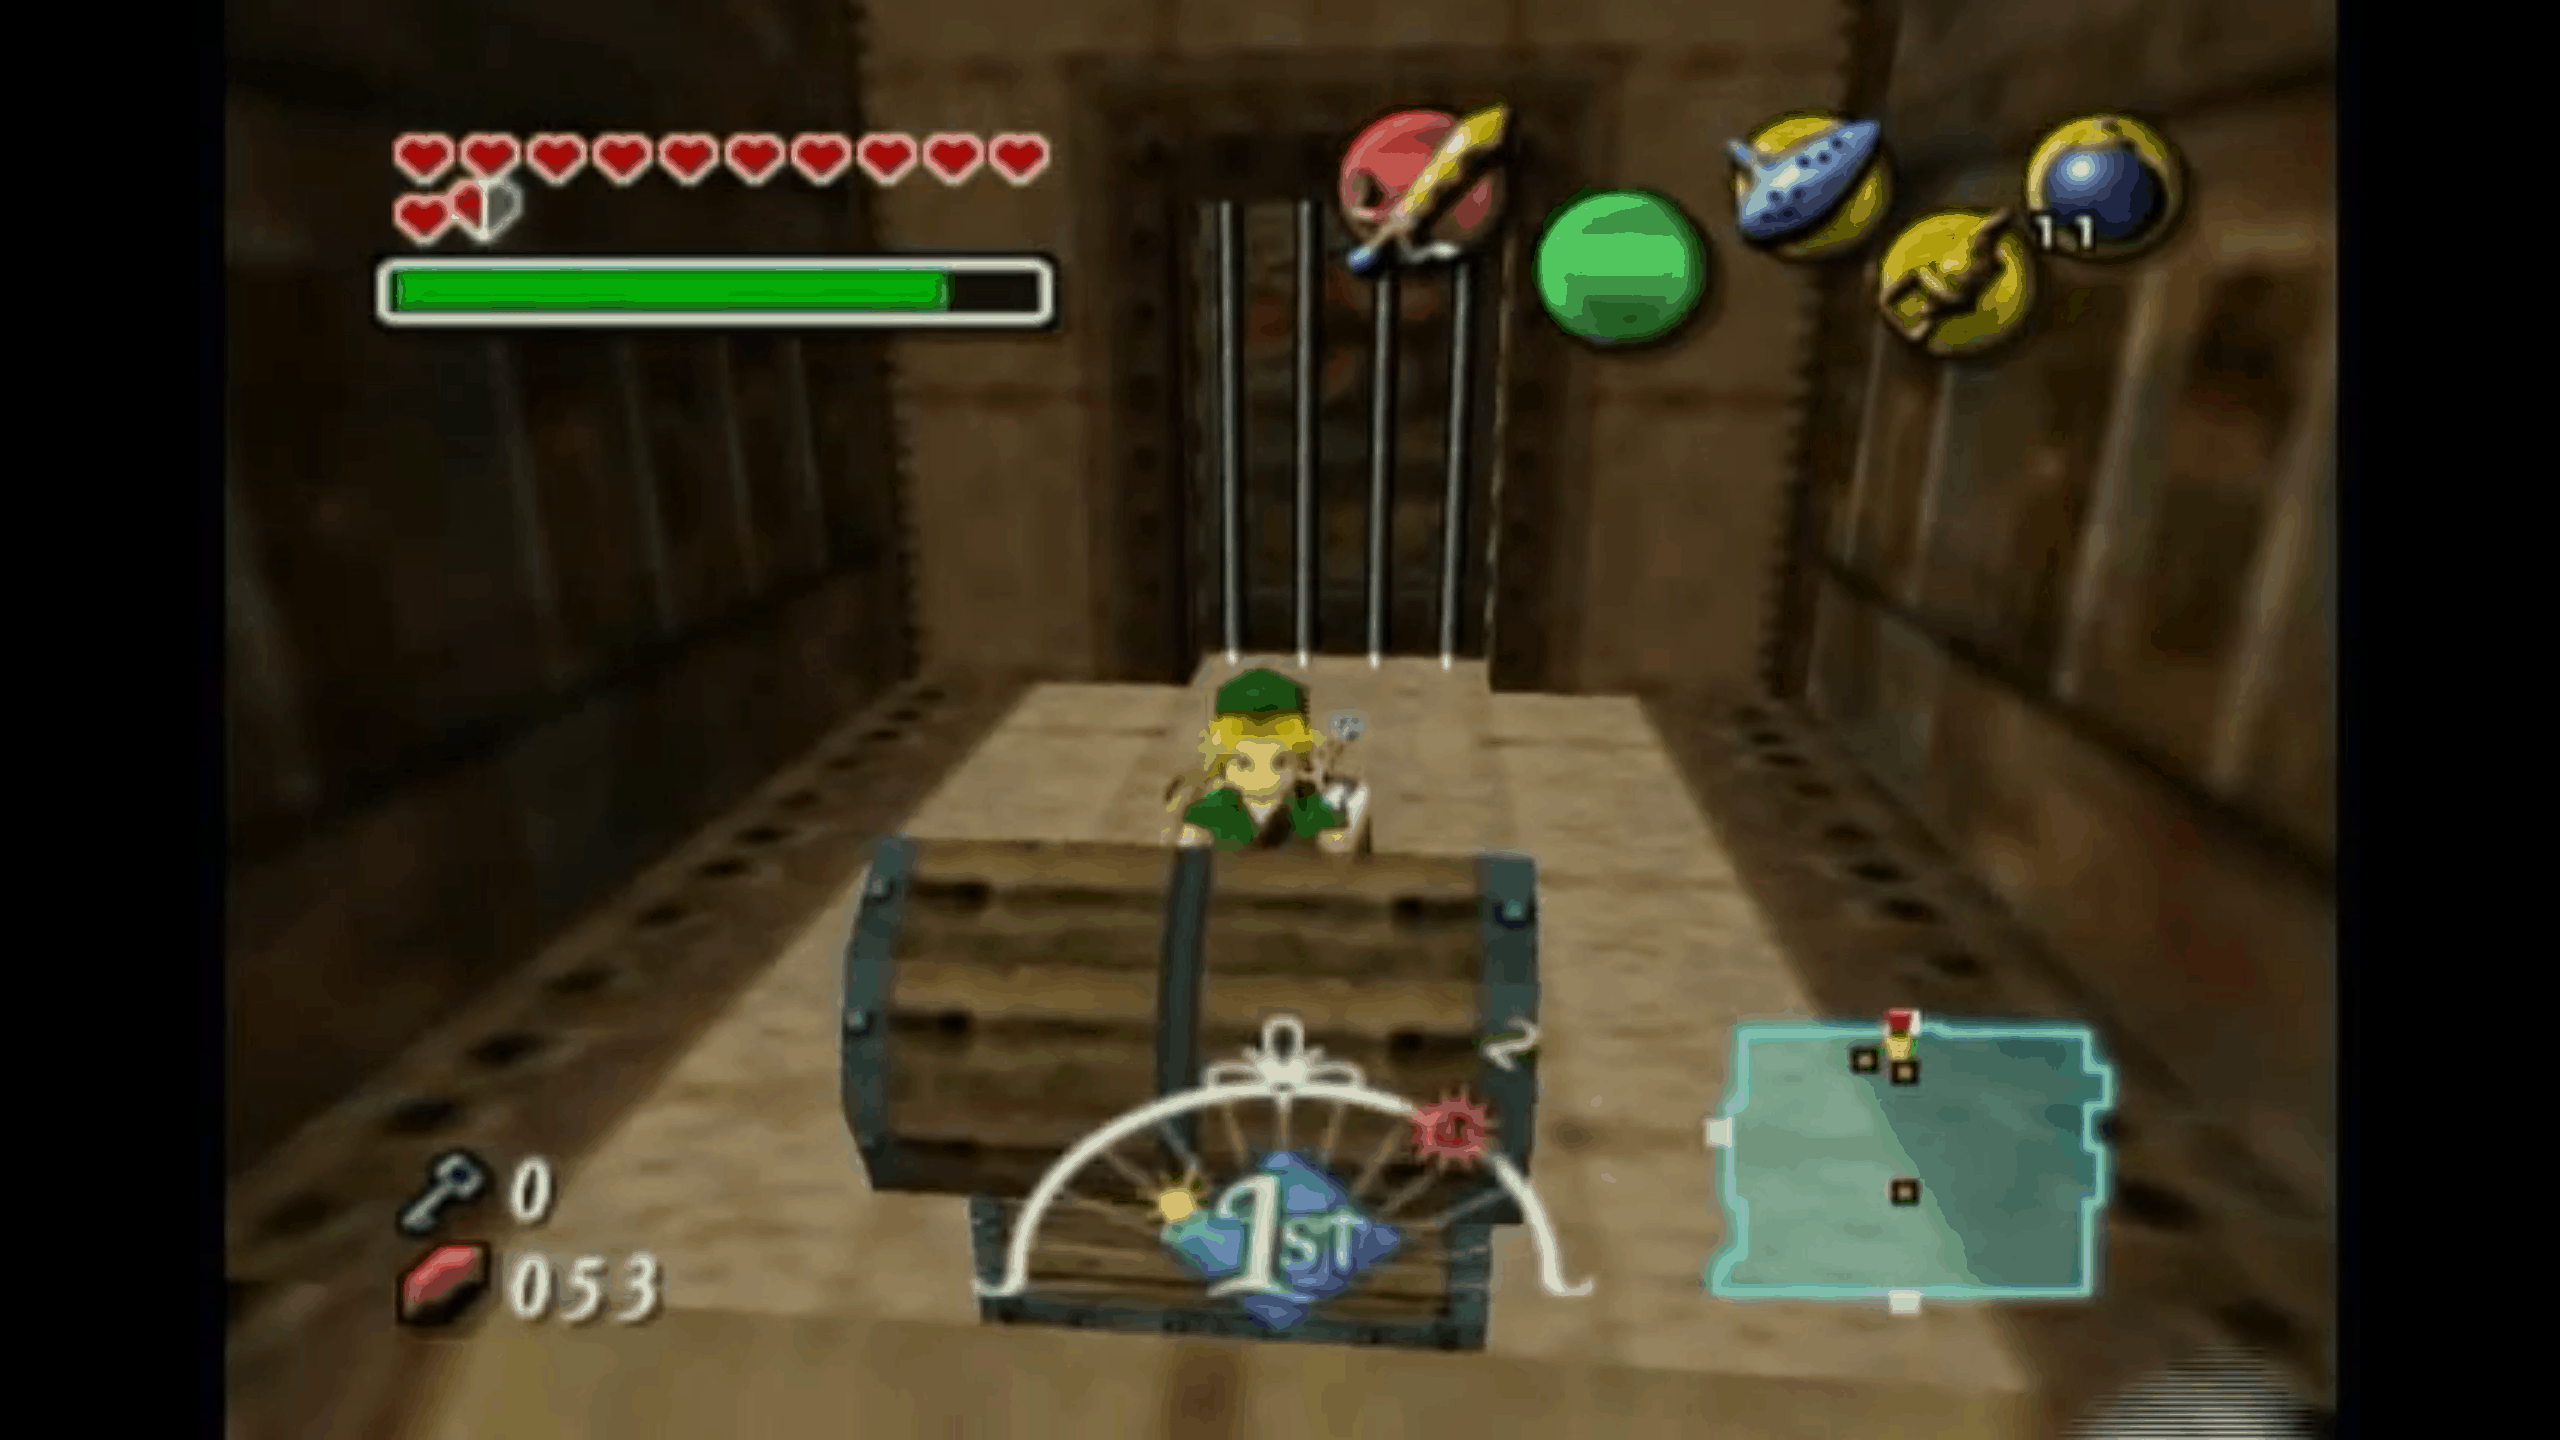
The second fairy is also in this same entrance chamber. You’ll need to use the Deku Flower to find a treasure chest on the eastern side of the room.
For the next fairy, what you’re going to do is head left down a ramp as soon as you enter the second room – you know, the one with the large flower shrine. There is a Deku Baba waiting for you at the bottom. Take him out to get fairy number three.
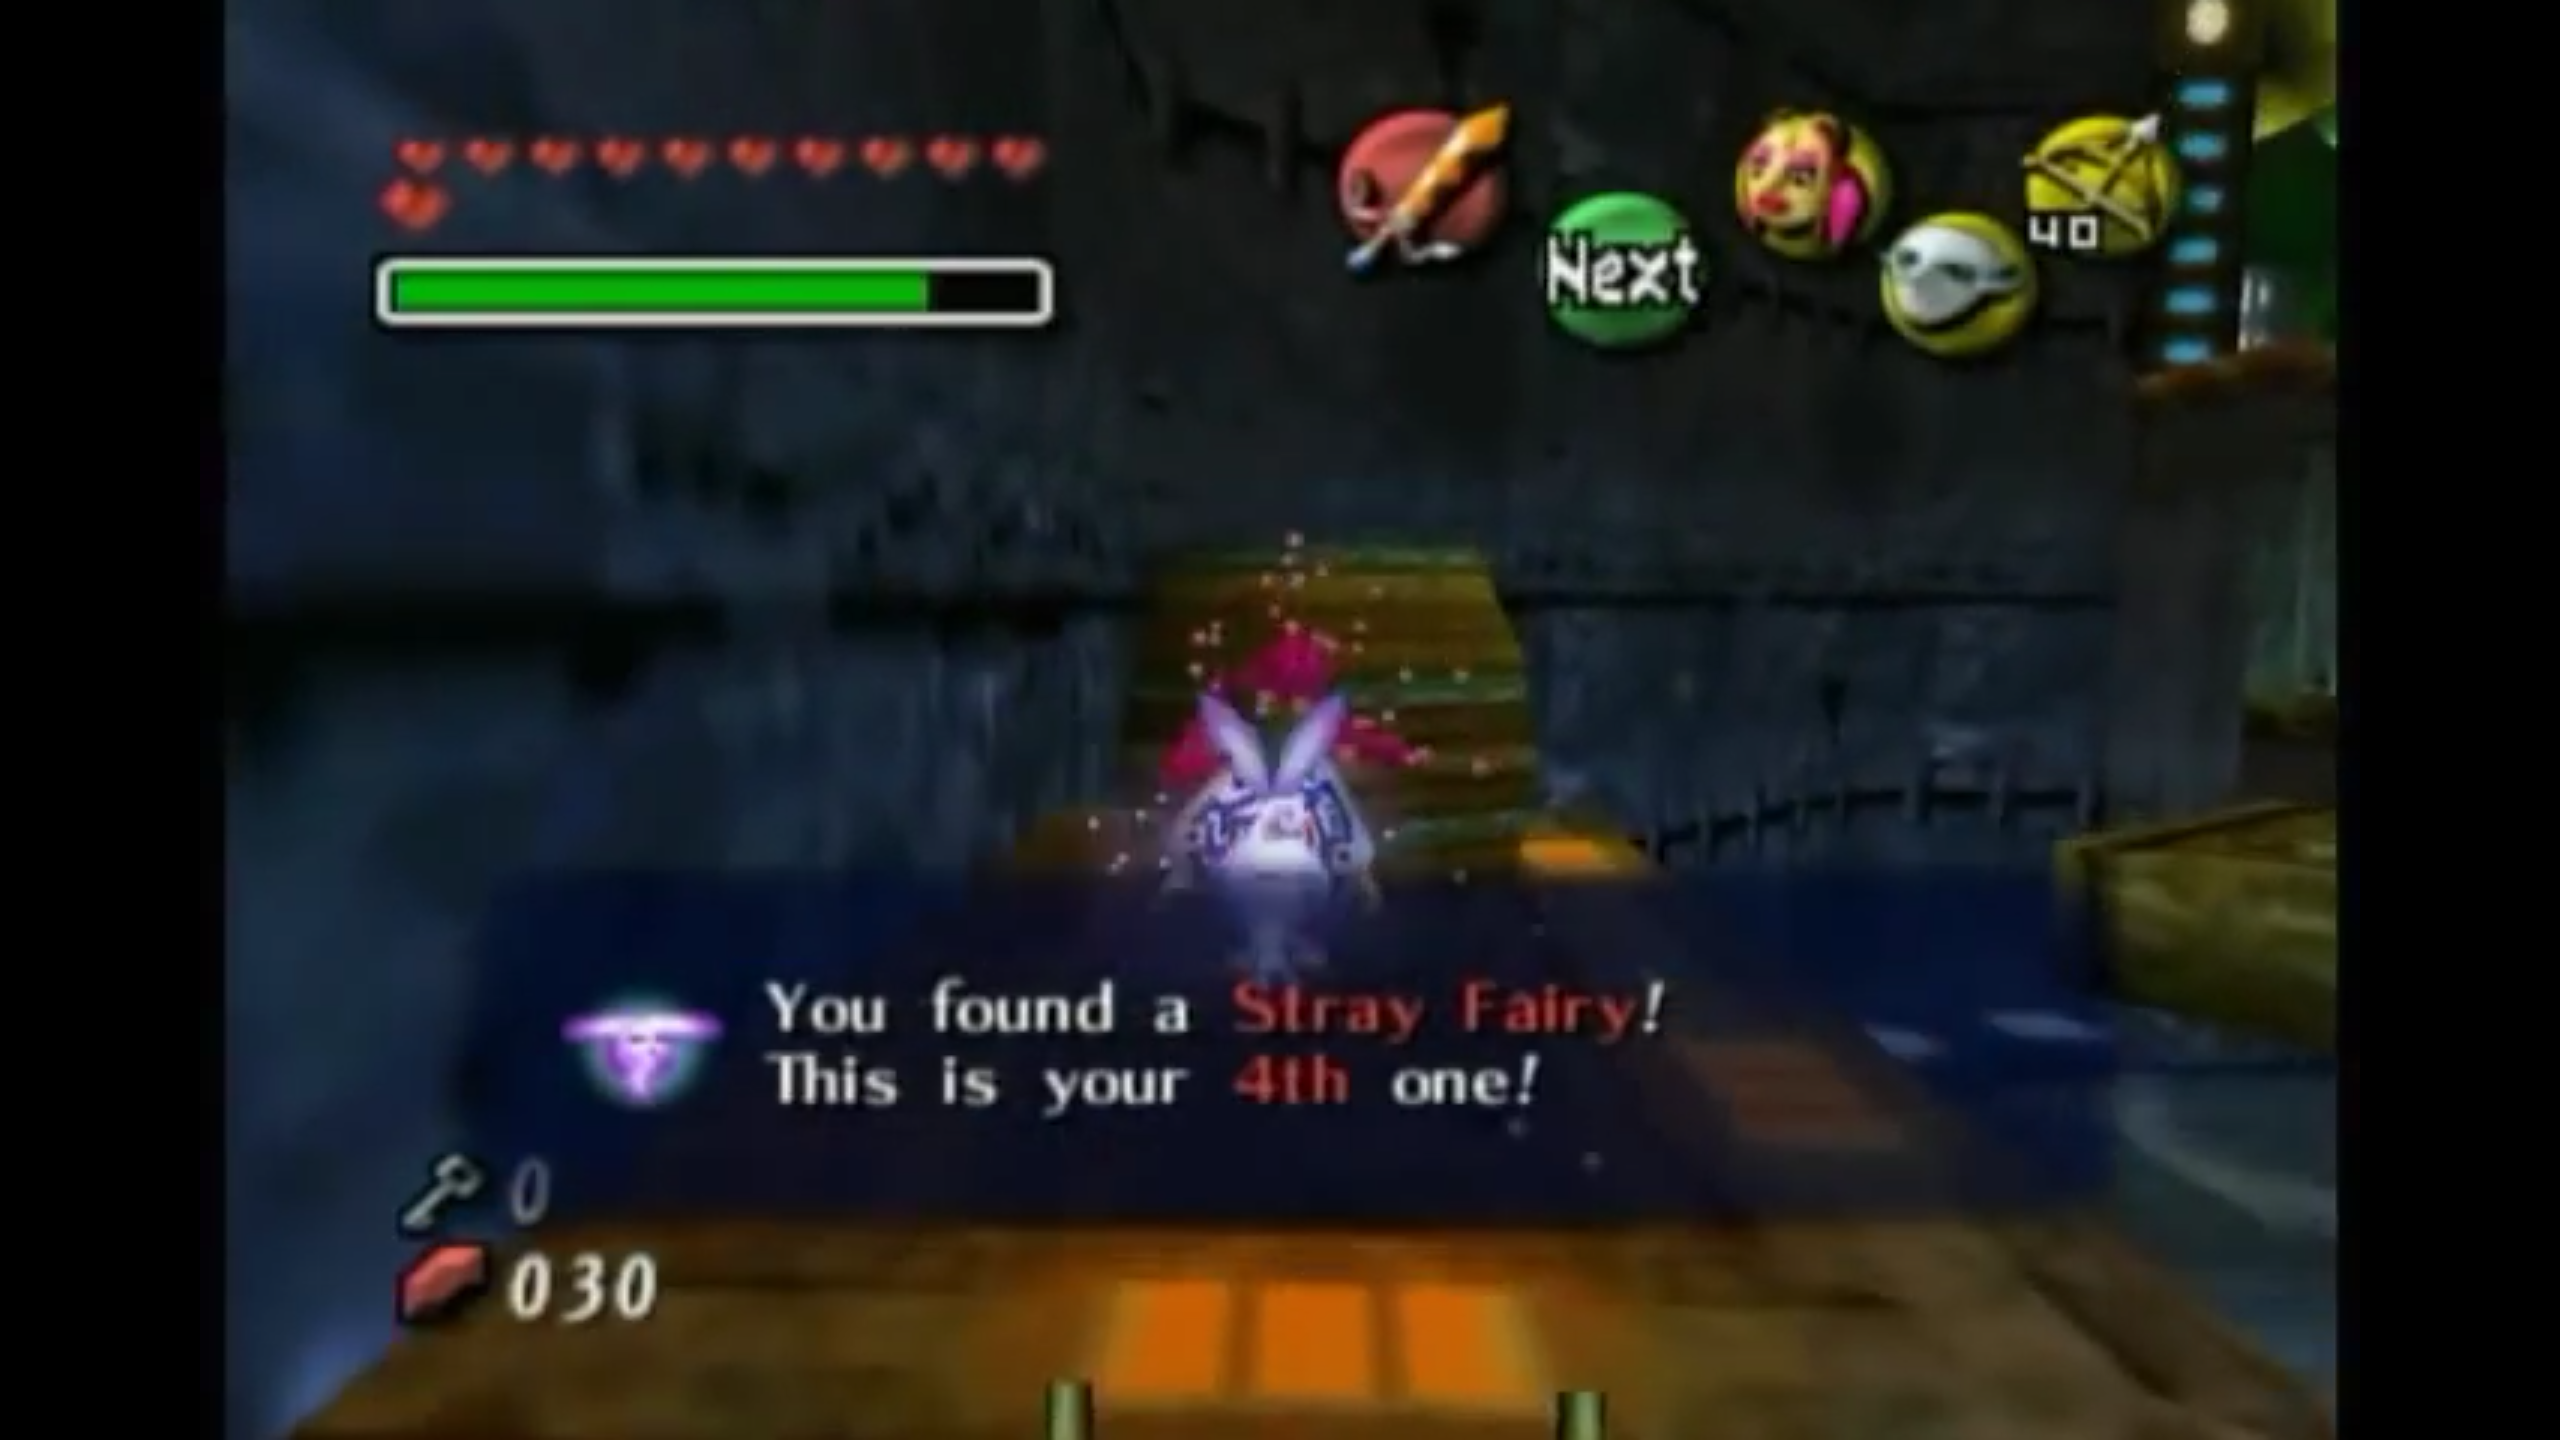
In the same room, hop across the flowers to a small platform on the eastern side of the chamber. If you look to the right of the door (while you are facing it,) you’ll find a small cluster of pots. Hop over to these and break them to find fairy number four among a bunch of other goodies. The fourth fairy is in the top left pot, to be specific.
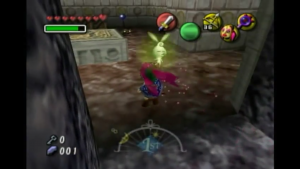
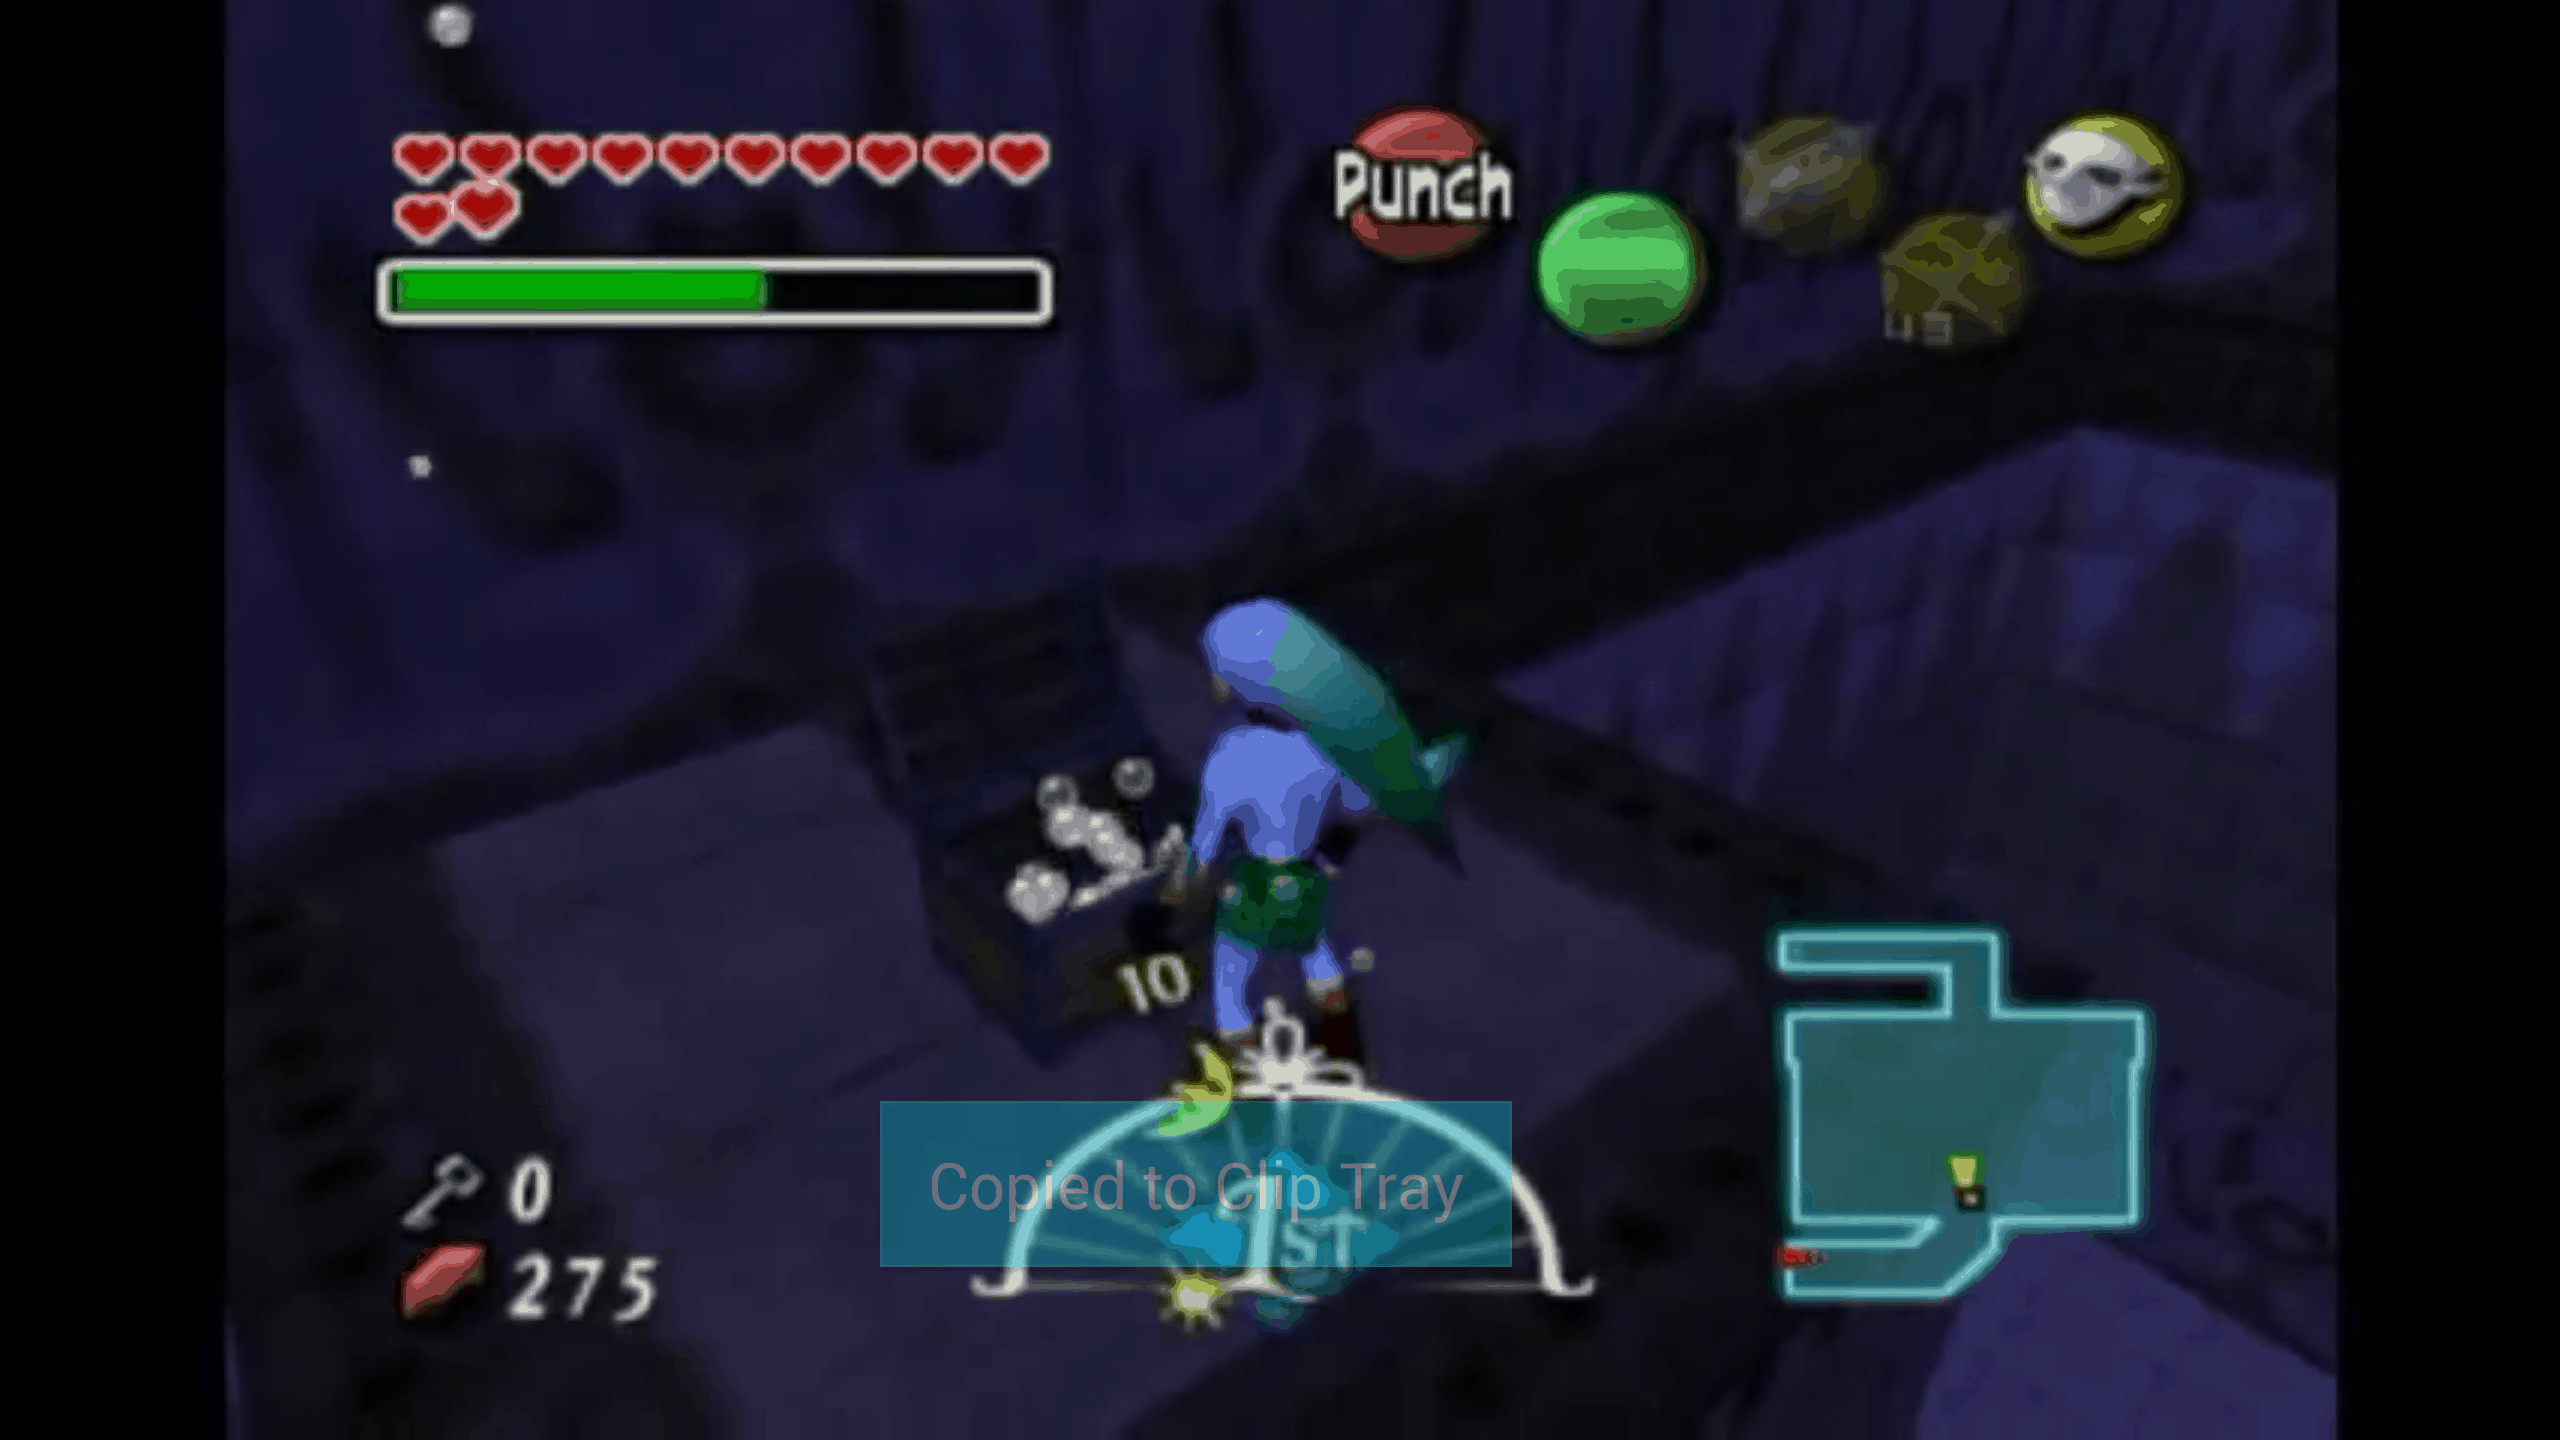
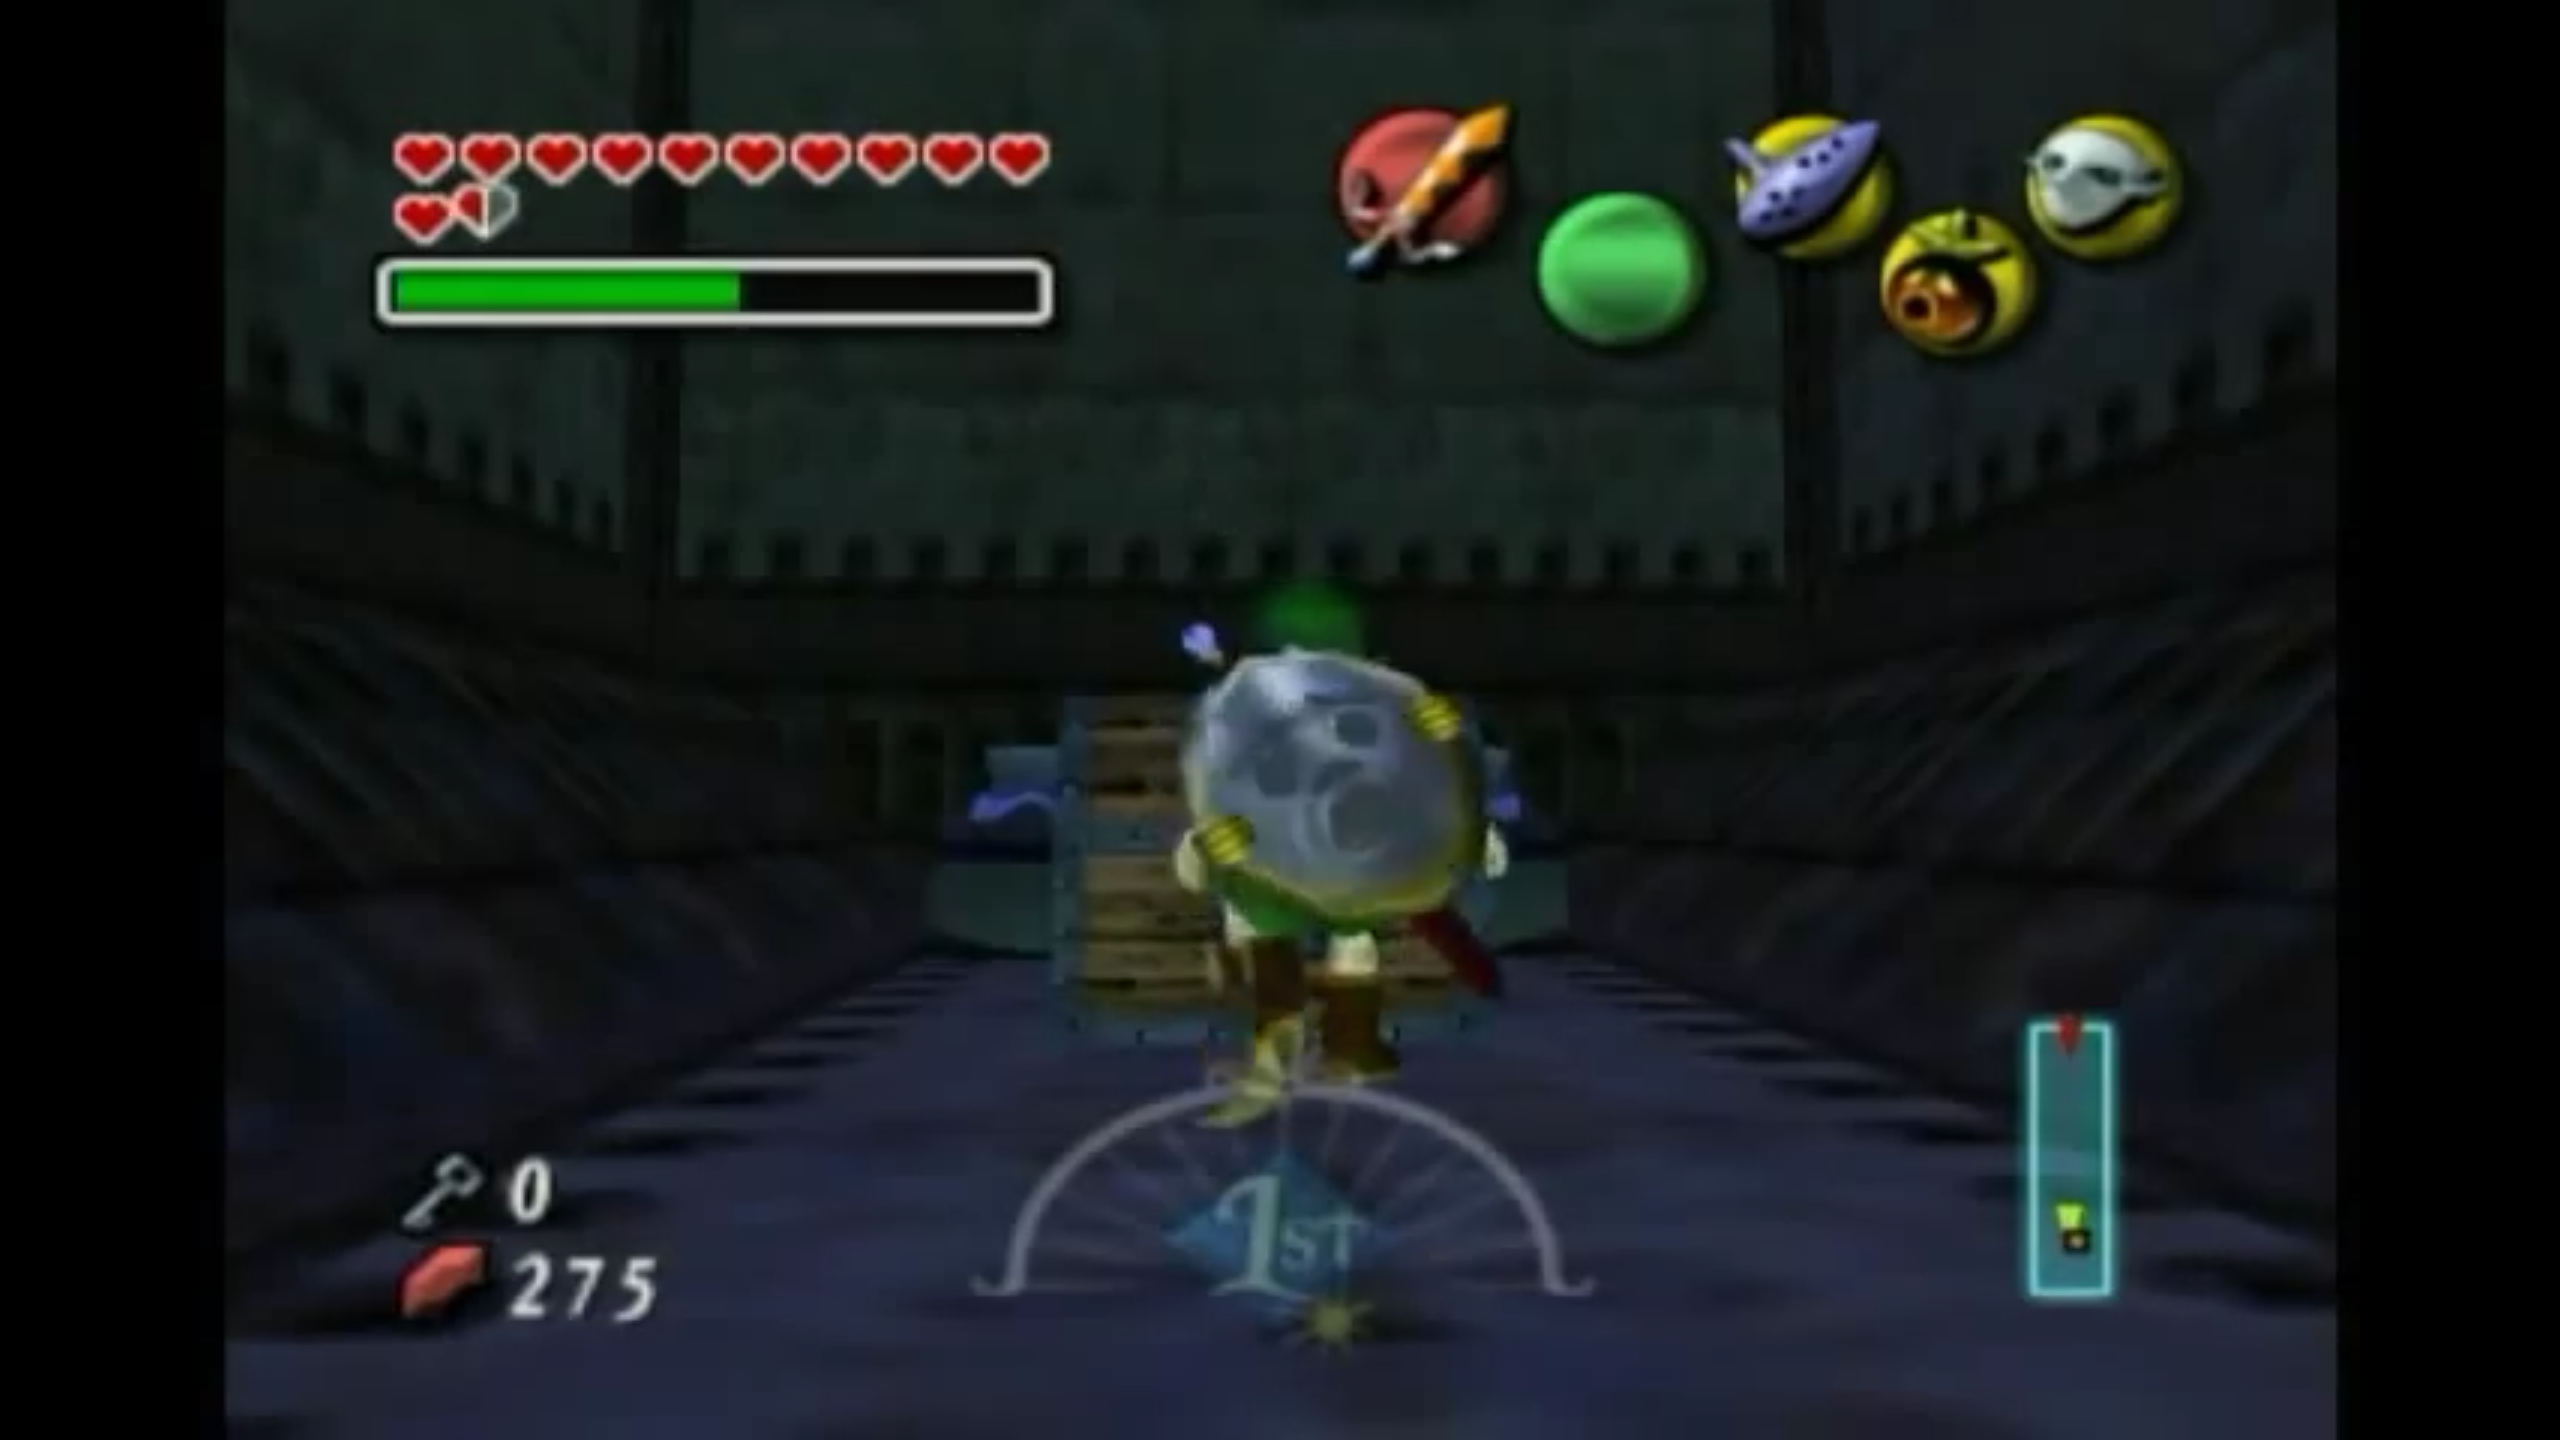
The next room where you’ll find a fairy is the room with the Majora block. Simply push the block forward when you first enter the room. Then follow the pathway to the right and around the edge of the room until you encounter a Skulltula. When you kill the Skulltula, fairy number five will appear.
Before heading into the next room to grab the compass, turn around so that the door you would go into is behind you. You’ll see two beehives directly ahead, hanging over where the Majora block is. Don the Deku Mask and hit the one closest to you. When the hive hits the ground, the sixth fairy will pop out. Put on the Great Fairy’s Mask if you need to!
In this same room with the Majora block, you’re going to need to light a Deku Stick. While facing the compass door, head right and upstairs, following the pathway. Then hop across the platforms on this upper level and burn the webbing that is blocking a door to the left. In this next room (which is dark) kill all the enemies. Take out the Black Boes and then the Deku Baba. A chest will appear with the seventh fairy inside.

Head into the next room after lighting all the torches. You’ll be able to see fairy number eight in the far left corner of the room, trapped in a bubble. Just go down the staircase that’s directly in front of you and run over to her. She’s yours as soon after you burst the bubble she’s stuck in. (If you are playing the N64 version of Majora’s Mask, this fairy is underneath the wooden pathway in the block room – you’ll need to wait until the water is purified to get her.)
After using the Deku Flowers to advance to the next room, turn immediately to your right. You’ll see the ninth fairy trapped in a bubble. It’s as simple as the one before; just run over and break the bubble however you choose to. Pop on the Great Fairy’s Mask if the fairy starts floating the other way.
You’ll find fairy number ten in the next room, which you can get to after simply following the walkway on the upper level to the opposite side. (Don’t forget to press the switch by the door here – it spawns some ladders which are useful if you fall down below.) As soon as you enter the next room, turn around so you’re facing the door. The hive here holds the fairy; knock it down. On the N64, this hive is located on the far wall to your right, perched in the mouth of the Deku King’s picture.
You’re not going to see another fairy until we get back the main room with the flower shrine. Use the Deku Flower on the northern side of the room to float to a small platform with a switch and a torch. Take of the Deku Mask to trigger the switch. You’ll see a chest appear. You can leap off this platform and run up the ramp to get it. Easy as that! Eleven down, four to go.
After you light the torch and head into the next room, you’re going to see our twelfth fairy immediately. She’s stuck in a bubble above some fire… poor thing. Anyway, just go for it. Pop the bubble with an arrow and put on that lovely Great Fairy’s Mask.
Take the ladder down or jump onto the platform below you. Next, turn around and face the ladder. Use the Deku Flower to drift up to the lowest platform on the left. Fairy number thirteen is tucked against the wall. You know the drill – bust up the bubble and she’s all yours.
And our final fairy is in the same situation as its predecessors. The only thing different here is that you go back down to the platform with the ladder and take the Deku Flower up the right hand side this time. Fairy number fifteen is on the highest platform.
Now that you have all the fairies, you can go defeat Oldowa. Do not forget to take these guys to the shrine in Woodfall afterward! It’d be easy enough to get them again, but it’s better to not have to. Remember, the shrine where they need to be delivered is to the west of Woodfall Temple.
Snowhead Temple Stray Fairies Locations
Okay guys, one temple down. That double magic is pretty sweet, huh? It will come in handy, trust me. Next, you’ll find all the locations of the stray fairies in Snowhead Temple. Snowhead’s Fairy Fountain is at the bottom of that same central pillar that the temple is at the top of. Instead of ramping up and around, you’ll simply stay on the ground and head right. You’ll know it when you see it.
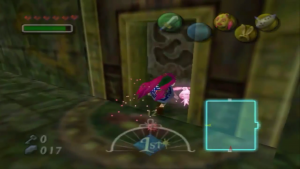
The first stray fairy is going to be in the room with the broken bridge and the three freezards. Before jumping across, you’ll see the poor thing stuck in a bubble on the right side of the bridge (also known as the east wall). She’s between a crate and a freezard. Just pop the bubble with an arrow and put on that Great Fairy’s Mask of yours. If you’re playing on the N64, the first fairy is actually hidden under a little platform that juts out on the far side of the room – it’s right under the little platform on the far side of the bridge.
The second stray fairy is in this same room. If you actually glance on the left side of the bridge, you’ll see the second stray fairy trapped in an alcove atop of a stone tower. You’ll need to look slightly downward to find her. Same deal as the last, use an arrow and then the mask. If you’re playing the N64 version, she is in the same place but you’ll need to turn on the Lens of Truth. This little alcove has three invisible walls – you’ll be able to get her from the far side of the room.
Fairy number three is in the same room as the Bombchu. She’s just stuck in a bubble in the corner; hit the bubble with your sword and she’s all yours. On the N64 she’s just floating around, no bubble at all.
Our next fairy is in the very bottom of the temple, on the floor with all the lava. There’s a switch on the room’s west side; step on it as Goron Link to trigger a chest appearing. Just mosey your way over to it and open it for our fourth fairy. Useful fact that you should definitely remember: You can wander around in lava all day as Goron Link and it doesn’t hurt him. Pretty useful! And now you should have four fairies total.
This next one may take a few tries… It’s in the same room as the compass. You’re going to be focusing on a crate that is right next to the cracked wall on the west side of the room. What you need to do with that crate is throw a well-timed bomb and bust it up. Fairy number five will emerge, and you’ll just need to put on your mask again.
Fairy number six is going to be in the room with all of the icicles that you can shoot down. You’ll need to use your Lens of Truth to see where it is tucked away. (Hint: It’s on the south wall.) Just leap from pillar to pillar and open the chest that you can see in there.
Our seventh fairy is in the same room as the green and yellow switches that you can pound as Goron Link. What you’ll do is use the Lens of Truth and look upward to reveal a false ceiling. Shoot the fairy in a bubble with an arrow and have your Great Fairy Mask on, and she’s all yours.
The eighth fairy is actually back in the room with that for-real-live-Bombchu. When you come back to this room, you’re going to be upstairs. If you use your Lens of Truth again, you’ll see a series of very small platforms. Guess what you have to do? Yep, you have to hop your way up and around to find another hidden alcove with another chest. If you fall, it’s not a big deal – you can use the Fire Arrows that you snagged a little ways and melt that eye switch. It will trigger a central platform to rise for a few seconds and you can jump start again.
The next little fairy is back in the room where we snagged the compass. Now that you have the Fire Arrows, you can melt everything in here if you want to. You really only need to melt the ice chunk that has a switch inside of it. After you step on it, you’ll cause a chest to appear. You need to shove the block in the room north, then east, and then south to get it close to the ledge where the chest appeared. Just hop up and over after it’s in place and open the chest to get fairy number nine.
Fairy number ten is back in the room with the two blocks that are stacked. This time when you come in here, you’re going to be on the upper level. Hopefully you had shoved these across the room so that they settled in place, creating a walkway you can jump across (this also caused the chest that we are going for to appear.) Be careful, because two pots are going to fly at you, so whip out your shield real quick. After that’s done, you can open the chest to get the fairy.
The eleventh fairy is another freezard room – this room has numerous pillars that you hop across to navigate. Now that you’ve got the Fire Arrows, what you need to do is shoot all three freezards and you will instantly kill them. A chest will appear when you do this, so carefully hop over to it and loot it to snag the fairy. Be careful hopping over as it’s kind of a big jump. If you have the Bunny Hood, use that! If not, just start off the jump with a roll attack to ensure you make it across.
The twelfth fairy is actually in the same place as that secret nook with the Deku Flower. You jump off the central walkway (you’re on the second floor) that leads to that central pillar that’s just begging to be punched. You’ll see a chest there; simply open it and she’s yours!

Our next fairy is in the room with all the Eenos. First you need to kill them with Fire Arrows (it’s for the best, truly.) Then you’ll turn on your Lens of Truth and look on the west wall to see it is a fake, and you’ll see the fairy trapped in a bubble in there. Just shoot an arrow and put on the Great Fairy’s Mask again to nab her, and you now have fairy number thirteen.
Fairies fourteen and fifteen are obtained in the battle against the Dinolfos that are actually in the next room. Just defeat them and as one goes down you’ll get a fairy as a reward. This will apply for both Dinolfos, giving you your final two fairies. The nice thing about this is that if you get a little beat up, those fairies are just the ticket to give you a second wind.
Great Bay Temple Stray Fairies Locations
Alright guys, two down and two to go. The reward you’ll get for this one is the best, in my opinion: double defense. Just think about that for a minute… It’s essentially doubling your heart containers. So good. Let’s get cracking!
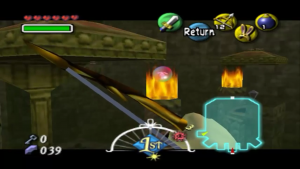
The first fairy is in the entrance chamber. Put on your Bunny Hood and light a Deku Stick on one of the torches near our turtle friend. Now run up the stairs and light the four torches up here to make a chest appear. The first fairy is inside. (The Bunny Hood for this isn’t necessary, but it’s extremely helpful.) You could also use Fire Arrows for the torches, depending on how frugal you are being with your magic.
Fairy number two is inside of the first waterwheel chamber. Swim to the central platform that’s straight ahead. Now turn around so that you’re facing the platform where you began, at the room’s entrance. If you look under that platform, you’ll see a fairy trapped in a bubble under that water. You can pop the bubble with an arrow or the Hookshot and put on the trusty Great Fairy’s Mask to get her. You can also use the Zora Mask and dive down to pop the bubble with Link’s boomerang flippers.
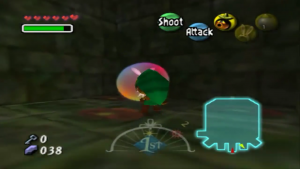
In this same room, head back to the entry platform. Climb up and face the west side of the room; you’ll see a platform that is going up and down. Hop on and you’ll be lifted to another platform that you’ll want to jump off to. When you jump over, you’ll be attacked by a Skulltula. Defeat him to nab fairy number three.
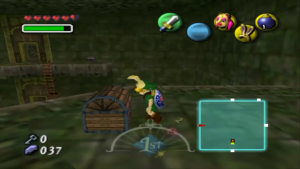
In the main room (the giant machinery room with the huge gears and whatnot,) you’re going to turn to face west and see a lone barrel on a ledge. Just jump down and then climb the ladder up ahead. You can either roll into the barrel or punch it as Goron Link to free the fourth fairy.
All you need to do to find the next fairy is approach the edge of the ledge you got the previous fairy on. If you look down into the water you’ll see a jar at the very center of the room on the floor. Shoot the jar with an arrow and put on your Great Fairy’s Mask – just like always – and the fairy will come to you. Now you have fairy number five.
The sixth fairy is in the room with the Dungeon Map. What you’ll do is turn around to see a pot on a ledge after getting the map. It’s actually on the opposite wall, so you’ll just need to do a 180 to see it. If you break that pot with the Hookshot or an arrow and don the handy-dandy Great Fairy’s Mask, she’ll come to you.
Fairy number seven is in a water filled passageway with some lily pads. These lily pads have some Bio Deku Babas underneath, so make sure to put on the Zora Mask and sink underwater to take them out first. Just use the boomerangs and they’re easy. Once you’ve killed all of them, you’re free to use the lily pads to jump across to a chest. That chest has our fairy inside.
Our eighth fairy is in the same room as the compass. From the entry ledge in the room, face northeast. You’re looking for a jar that’s got Dexihands on either side of it. Hit the jar with the Hookshot and pop on everybody’s favorite mask to get her.
You’re not going to see another fairy for quite a while – you’ll have already fought Wart and the Gecko by the time you see her. We’re going to be searching in the tallow pipe room. If you look upward, you’ll see an opening in the northwest corner of the ceiling. What you need to do is shoot Ice Arrows into the water to create platforms. (How neat is that mechanic though, like really?) You should only need a couple to get to a point where you can aim upward and see a target for the Hookshot. Head up and you’ll find a chest that contains the ninth fairy.
Fairy number eleven is in the same room with the waterwheel. You’re going to whip out your Ice Arrows and shoot the stream of water that’s keeping the waterwheel itself moving. This will halt it, allowing you to climb onto the wheel’s central… part. Hookshot the chest that you’ll see in the alcove to the north and pop it open to get the best prize ever: a fairy!
The twelfth fairy is in the see-saw room. Put on your Zora Mask and drop to the floor below you, and then find a little hole near the entry ledge. Sink to the bottom of this and bust up that one barrel in there.
Fairy number thirteen is in this same room. You’re going to be going from the green-edged platform with the spinner. Avoid the Bombchu and follow the pipe until it bends upwards; hop to the lower ledge. Hookshot the chest that’s a ways off and open it for a fairy.
All the way back in the first waterwheel room, we need to head under it. Swim onto the green pipe that rises up from the water. As soon as you hit the point of standing up on the pipe you’re going to take out your Hookshot. Face the center of the room, and use it to burst a bubble that’s keeping a fairy trapped. Use the Great Fairy’s Mask to reel her in. There’s only one left.

Our last fairy is in the same room. You’ll be getting this fairy after you’ve done everything you need to do to get into the boss room. Before heading in there though, you need to head back into the water. Sink to the bottom and you’ll find the last fairy trapped in a bubble in the northwest corner. Do not go blazing in after it; if you go in that tunnel you’ll get whisked back to the main chamber. (That would be very inconvenient.) Instead, you want to use your boomerangs, and then surface and put on the Great Fairy’s Mask.
Okay, so you know the drill from here. Beat the boss, get the mask, drop the fairies off. The fairy fountain is to the left of Zora Hall. If you go from the shore, you’ll see a chain of islands that get progressively bigger. Hookshot your way across these and you’ll find the fountain.
Stone Tower Temple Stray Fairies Locations
This is our last stop, so let’s hop to it. You get a neat sword for gathering up these little guys, but it’s a sword that you equip to an item slot, as opposed to B.
The first fairy is going to be in the entry chamber. If you look at that large statue on the opposite side of the room, you’ll see it has one open eye and one closed eye. In the open eye is an eye switch; shoot it to make a chest appear. You can Hookshot or jump over from the side of the platform that the chest appears on. Open the chest and we are rollin’.
The second fairy is in the room with all of the Armos Statues. After obtaining the map and the Small Key, you’re going to aim your Hookshot up into the sunlight. You should a little target that you can latch onto and pull yourself up to a higher level. You should be in a small loft with a chest; open it for fairy number two.
Our third fairy is in a room with a light beam and a lot of mirrors. First, goron punch the central pillar to reveal a beam of light. Then you’ll stand in the sunlight and face east; shine the light onto the east wall’s left-most sun emblem. (It’s the sun emblem on the east wall that’s closest to that huge sun block.) This will cause a chest to appear, all you need to do is open it!
Fairy number four is in this same room. Face the central pillar, with the mirrors on the left and right side. You’ll need to shine light on the right-hand mirror for a little while (as you shine it in there, it builds up.) After a few moments, you’ll run into the beam of light that the mirror is putting out. Angle your mirror from this beam so that the light hits the eastern sun block. Run into the area where it vanished from to see a chest… A Nejiron pops up, so handle him and then open the chest.
The next fairy is in a room that has a floor made entirely of lava and some air vents that Deku Link can use. What you need to do here is don the Goron Mask and drop to the lava floor. Now, this can take quite a few tries so just remember that persistence is key. Now, goron pound the switch that’s on the floor (it looks like the switches from Snowhead Temple.) This will lower a ring of fire that is around another switch, on the other side of the room. What you do next is roll around the room – and you need to do it fast, but make sure not to bump into anything, because that will completely mess you up. When you make it to the switch, step on it and a chest will appear up above. Now head back to the beginning and climb up the ladder to get the back to the Deku Flower. Now simply move forward, allowing the vents to keep you aloft. There will be a chest on the left, on a platform that is full of rupees. Open it for fairy number five.
This was actually a bit of a two-for-one. For the sixth fairy, all you need to do is take these vents the rest of the way around the room. There is a chest awaiting on the final platform, after you’ve gone all the way around. This chest is actually the one that we freed with the switch from a moment ago. Open that one for the next fairy before moving into the next room.
The seventh fairy is one that we’ll be getting after defeating the Garo Master. You head through a hallway that has a Hiploop on a narrow walkway. Take him out and advance through the south door. You’ll find yourself back in a previous room, except you’re on a bridge this time. You’re going to be encountering an enemy called an Eyegore… Once you take him out, you’ll be rewarded with a chest that has the fairy inside of it.
Fairy number eight is going to be found after the temple has been inverted. Move towards the Majora’s Mask emblem on the floor and turn around to face the entrance. You’re going to take the Light Arrows and shoot a sun emblem that is way up above you. This will cause a chest to appear; I’m sure you know by now what’s in there. Go get it!
The next fairy is back in the water chamber… It is quite a bit different upside-down though! There are three huge air vents in place of the water. Drop down and turn around to use a Fire Arrow on a frozen eye switch; this will cause a chest to appear on a ledge to the north. Put on the Deku Mask and head into the central vent. It will life you all the way up to the top of the room; you’ll need to head over to that ledge that you just spawned the chest on. You’ll just barely be able to make it. Open it and you have the ninth fairy.
Fairy number ten is in the same room. You’re going to use the easternmost vent to reach the high east ledge, which has a Deku Flower and a floor switch. You’ll need to take off the mask to be heavy enough to trigger the switch. Play the Elegy of Emptiness to leave a clone of yourself on the switch, then use the western vent to reach a ledge on the south wall. Avoid the mines as you go and land to open the chest that has our next fairy.
Our eleventh fairy is in the inverted Armos room… There aren’t Armos Statues in here anymore. Now there is only a Wizzrobe. Defeat him and you’ll nab the fairy as your reward.
Fairy number twelve is going to be gotten after we’ve put the temple upright again. Now you don’t have to worry about falling into the sky, at least… so that’s good! We’re almost there though. Drop into the central pit and open the chest that was hopefully spawned here earlier to get the next fairy. Nice and easy.
Next fairy up is in the room with the suspended bridge where you fought that Eyegore. What you need to do is hit a switch on the northeast ledge after defeating a Beamos. Then head onto the northwest ledge to get the chest. You can do this by doing one of Zora Link’s swimming leaps out of the water onto the west ledge.
The fourteenth fairy is in the water chamber. You just head underwater as Zora Link and you’ll zip straight toward it and pop it open. This is a chest that you would’ve spawned while the temple is inverted.
Our final fairy is in the Hoploop room. You have to head back here and then drop to the ground floor. There is a chest that you’ll open and you’re done! Fifteen out of fifteen.
After clearing the temple, you’re going to end up back in Ikana Canyon, near the entrance to Stone Tower. You jump hop down and find a hole below the tower’s entrance, and you’re done. You get a Great Fairy’s Sword, which is insanely powerful and fun to use.