So this Spider House works exactly the same as the one located in the Swamp: You must collect 30 Gold Skulltula tokens on the first day to get a reward. The Great Bay one is located in a very small house on the corner of the beach – it’s a very unimportant looking building. When you first step in, you’ll need to bomb the cracked wall to reveal a door. You’ll need to have acquired the Captain’s Hat to be able to do this. Your reward will be the Giant’s Wallet – 500 rupee capacity, and very nice to have.
You’ll see a ramp that goes downward in front of you in this next room. Skulltula numbers one and two can be seen crawling around in here. Hit them with the Hookshot and nab the tokens. If you accidentally roll down this ramp, put on the Goron Mask to head back up.
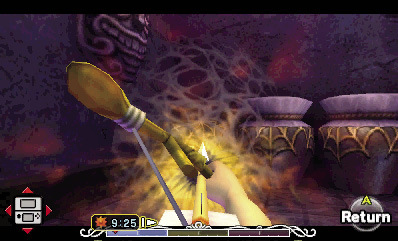
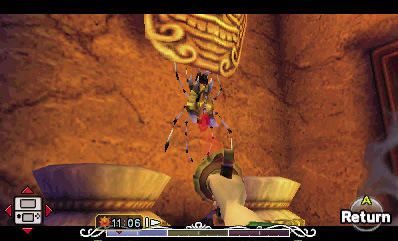
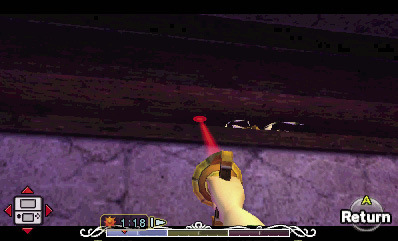
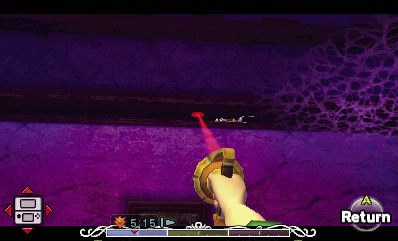
For the third Skulltula, you’ll need to head down the ramp. Then look up to spy a Gold Skulltula behind a web that is above you. If you need arrows, you can get some from the nearby jars, then use a Fire Arrow to melt the web covering the Skulltula. Use the Hookshot from there to do the deed.
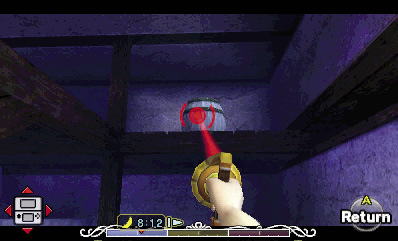
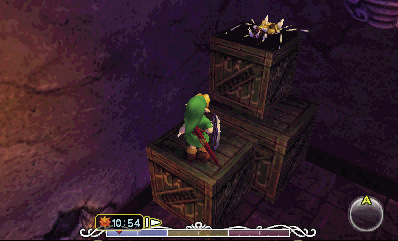
Skulltula number four is in the next room. To get there, just zip over the fence with the Hookshot by latching into the target on the wall, then head through the north door. In here, you’ll see a Skulltula crawling in the rafters of the ceiling. If you climb onto the crates in the southwest corner of the room, you’ll be able to take it out with the Hookshot. This one can be tricky to hit, but you’ll get it.
Jump off the crates and head north toward a group of large jars. If you roll into them, the fifth Gold Skulltula will pop out. Slay him and take the token.
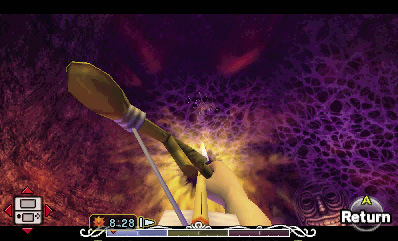
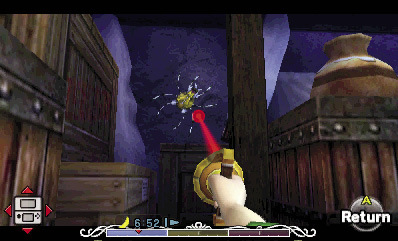
The sixth Skulltula is in this same group of jars. What you’ll need to do is burn away the webbing on the far left jar with a Fire Arrow. Then roll into the jar, just like you did before.
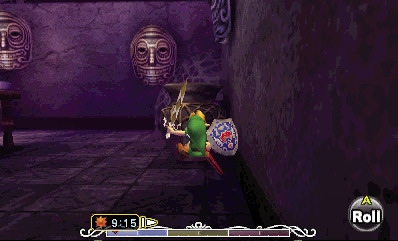
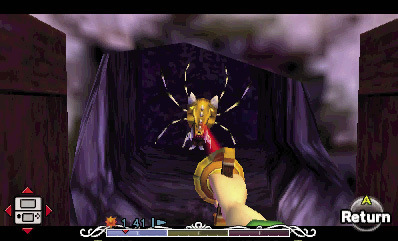
Skulltula seven crawls out from behind a mask that is on the wall near the stairs. Just hit it with the Hookshot when it emerges.
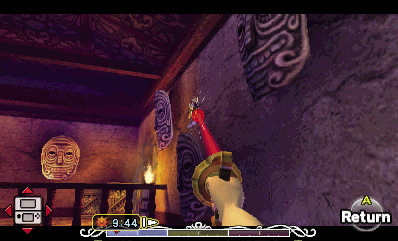
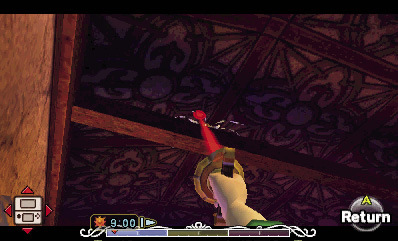
For the next Skulltula, you’ll need to go about halfway down the stairs. Take a peek above the masks on the wall and you’ll see the eighth Skulltula crawling in the small space between the floors. Take it out with your Hookshot.

The ninth Skulltula is in a large jar, just like five and six. Head the rest of the way down the stairs and roll into the jar that’s near the east door.

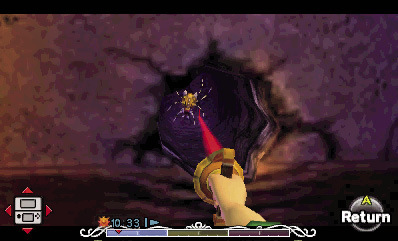
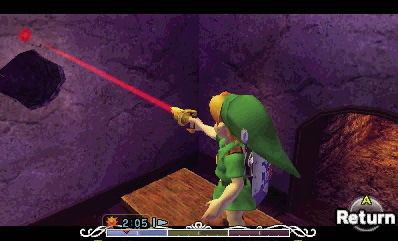
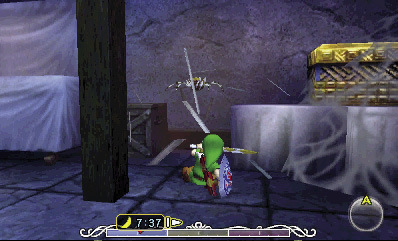
Our tenth Skulltula is hiding behind the staircase. The north wall behind the stairs has a ton of webs and a small hole. Use the Fire Arrows to burn the webbing away and you’ll see it in the small hole here. Just use the Hookshot to take it out.
Skulltula number eleven is in a jar on top of a stack of crates. These crates are in the northeast corner. Use the Hookshot to destroy the jars, then climb onto the lower crate. You’ll need to use the Hookshot again to safely destroy the Skulltula without taking damage yourself.
Number twelve is just like number seven – it crawls out from behind a mask that’s on the wall behind the stairs. Once he emerges, just use your handy dandy Hookshot.
Head back upstairs and use a Fire Arrow to burn the webs that cover the west door, and you’ll find yourself in a library. Put on the Captain’s Hat to hear a hint about a diamond being shot sixth from a Stalchild. Why not, right? That is a bit of info for later on. Anyway, move on west past the Stalchild and locate a bookshelf against the west wall. Shove it aside to expose a secret alcove. In this alcove, you’ll find Skulltulas thirteen and fourteen.
As you exit the alcove, you will be able to see a Skulltula crawling on the top of a bookshelf across the room. Climb onto the Stalchild’s desk for a better angle and take it out with the Hookshot. And now we are halfway done!

Head back to the entrance of the library; now we’re going to scope out the north end of the room. Again, with the Captain’s Hat, you can get another clue – this time it’s about a heart being shot first. It’ll make sense eventually, I promise. After that, you’re going to look for a painting on the wall in the room’s northwest corner. Knock that down to uncover the sixteenth Skulltula, and you know what to do to take it out.
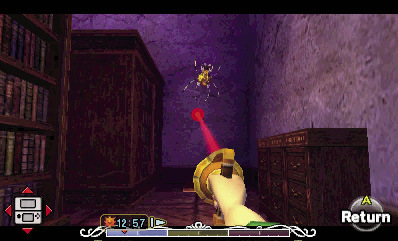
For number seventeen, you’re going to climb to the top of the bookshelf that the Stalchild was sitting on, using a stack of books to get up there. Once you’re on top, you’ll be able to see a Skulltula that is crawling in the gap of the north wall, near the ceiling.
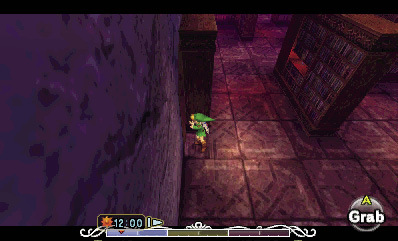
Drop down from the bookshelf and you’ll see three small cabinets against the north wall. If you grab and pull out the middle cabinet, you’ll see a small hole with a Gold Skulltula. Use the Hookshot and make number eighteen yours.
The nineteenth Skulltula is one that we need to climb back up that bookshelf for – you know, the one we were on a minute ago. So do that, and then jump to the south side of the room. If you Hookshot the Skull Kid painting on the wall (it’s to the right of the Stalchild’s desk) you’ll see another hole with another Skulltula.
This next bit isn’t for a token, but it’s very worth the slight detour. That being said, library is clear, so we need to head back downstairs to the basement. Open the east door at the bottom of the stairs to see the dining room. There’s a whole gaggle of Stalchildren hanging out down here – talk to each of them to get four more clues about stuff being shot. If you look at the masks on the walls, the clues start to make more sense. The order that these masks needs to be hit in varies from game to game, so just pay attention to what the Stalchildren tell you. The red mask is the heart, blue is spade, yellow is diamond, and green is club. Hopefully that’ll help you. After the masks have been shot in the proper order, a passage will open in the fireplace. Defeat the regular Skulltula that guards the chest, and you’ll find a Piece of Heart inside.
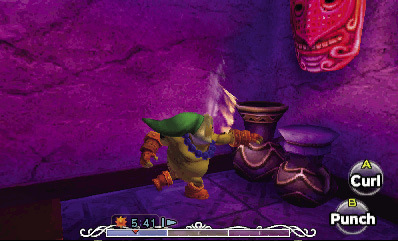
After claiming that Piece of Heart, head back to the dining room. Roll into the jars below the red mask to expose a Gold Skulltula. If this one is giving you trouble, you may want to try putting on the Goron Mask and punching the jars to get him to appear. Take him out for token number twenty.
The twenty first Skulltula is behind a Skull Kid painting. It’s nearest the red mask; knock it down and take him out.

If you climb onto the dining table, you’ll see Skulltula twenty two crawling in a gap near the ceiling, above the room’s entry door.
While still standing on the table, put on the Goron Mask and pound the table. This will knock three Skulltulas down from the ceiling, serving as tokens number twenty three, four, and five once they are defeated.

Head out of the dining room and head for a web covered door beneath the basement stairs. Burn the webbing away with a Fire Arrow and enter the room. After taking out a Boe and a regular Skulltula in this storage room, you’ll just cross the room and use another Fire Arrow to burn away the webbing on the ceiling in the southwest corner. Take out the Skulltula up there for twenty six.

For Skulltula twenty seven, all you need to do is turn around and face the north wall to find another Skulltula crawling around.
Skulltula twenty eight is in a light brown crate that’s on the north wall. (It’s near the room’s web covered corner.) Roll into the crate to break it and a Skulltula will pop out.
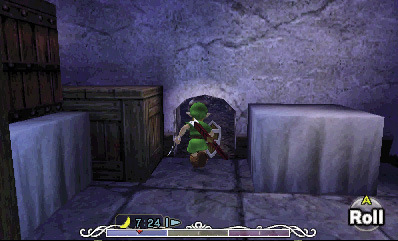
Number twenty nine is revealed by rolling into a crate against the room’s south wall. Doing this reveals a small hole that you can crawl through to reach a nook with two jars. The Skulltula is on the wall above the entry hole.
Our final Skulltula is back in the previous room. Exit the nook, then climb the crates to your right (in the southeast corner.) Climb as high as you can, and then find a barrel on an overhead loft near the north wall. Hit the barrel with your Hookshot to zip up to this loft. Now all you need to do is put on your Goron Mask and punch the other barrels to get the last Skulltula.